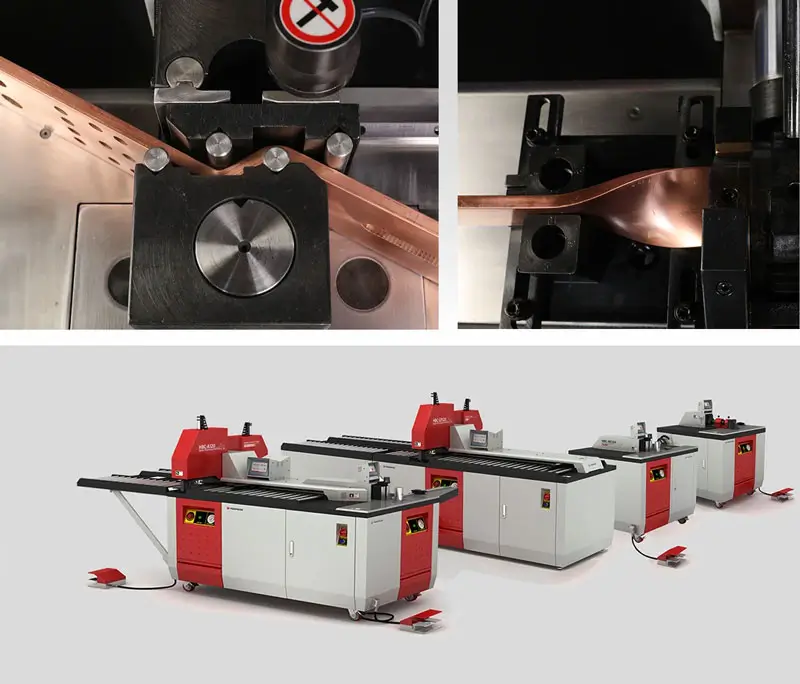


Why Busbar Cutting Creates Scrap
Hold-down clamps must press on the bar to prevent movement. That clamp land becomes off-cut once you separate the part. Then the blade needs overlap to complete the cut. In shearing, the metal passes through rollover → burnish → fracture → burr. A short crop at the start/end removes these deformed zones and helps you hit squareness and edge-finish specs. A proper Busbar cutting machine is essential to control these variables and reduce waste from the very first cut.
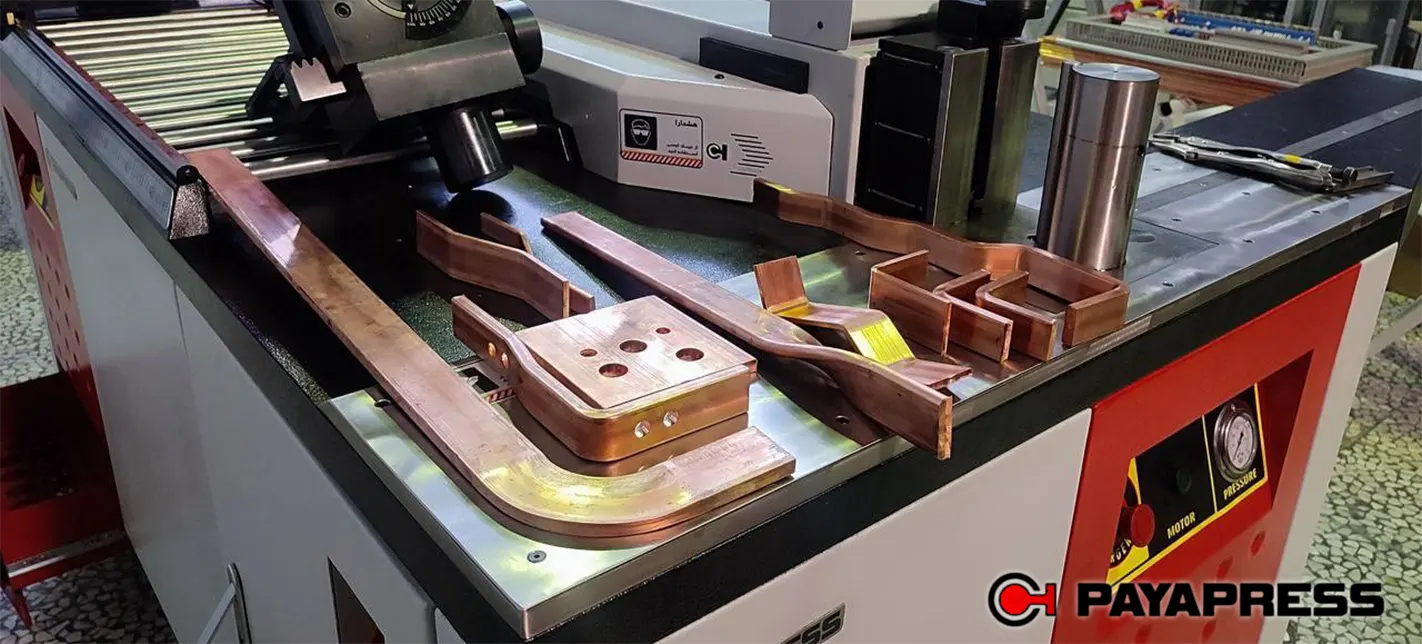
Shearing vs. Sawing: What Changes in Edge Quality
Shearing is fast and has minimal kerf, but can leave rollover/burr if clearance is off or tooling is dull. It’s excellent for high-volume straight cuts and works best with a defined deburr step.
Sawing removes a blade-width kerf but typically yields a cleaner 90° face out of the machine. It’s slower and generates chips, yet may cut your rework on critical lap joints. Choosing the right BUSBAR MACHINE for your process directly impacts which cutting method delivers the best edge quality for your application.
How to Minimize Off-Cut Waste on Busbar Cutting Machines
- Keep blade clearance right & edges sharp. Burr height rises with poor clearance and dull tools.
- Use accurate stops/CNC backgauges and plan cut sequences to minimize remnants. Simple nesting helps.
- Sequence for quality: crop a short “starter” piece to dial in squareness and burrs before the first customer part.
- Standardize deburring for consistent safety and contact area; use brushing or light face-milling as needed.
- QA the edge: define acceptable burr height and squareness; add simple go/no-go checks to your traveler.
Busbar Cutting Methods vs. Scrap Needs & Edge Quality
| Method | Why scrap is needed | Off-cut planning | Edge quality after cut | Typical finishing | Best use case |
|---|---|---|---|---|---|
| Shearing (guillotine) | Clamp land + blade overlap; shear zone forms | Yes (lead & tail trim) | High throughput; burr/rollover if clearance or edges are off | Deburr; occasional face clean | High-volume straight cuts |
| Sawing | Kerf removes material; fixturing still needs approach | Usually (process-dependent) | Cleaner 90° face; wider kerf; slower | Light deburr | Precision lengths and squared faces |
| Punch-cut on integrated lines | Die exit/entry + clamp requirements | Yes (case-by-case) | Controlled, still verify burrs | Deburr | Automated lines with nesting |
Notes: Qualitative guidance only—verify on your own thickness/grade and QA spec.
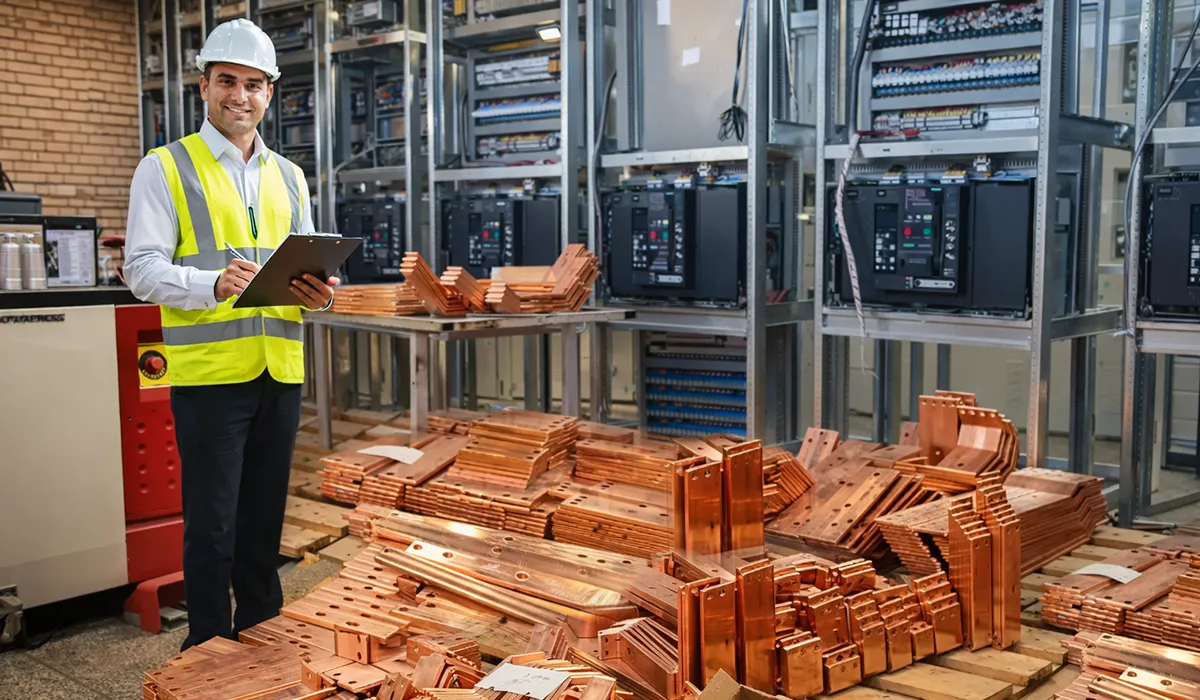
Standards and Good Practice for Busbar Edges and Joints
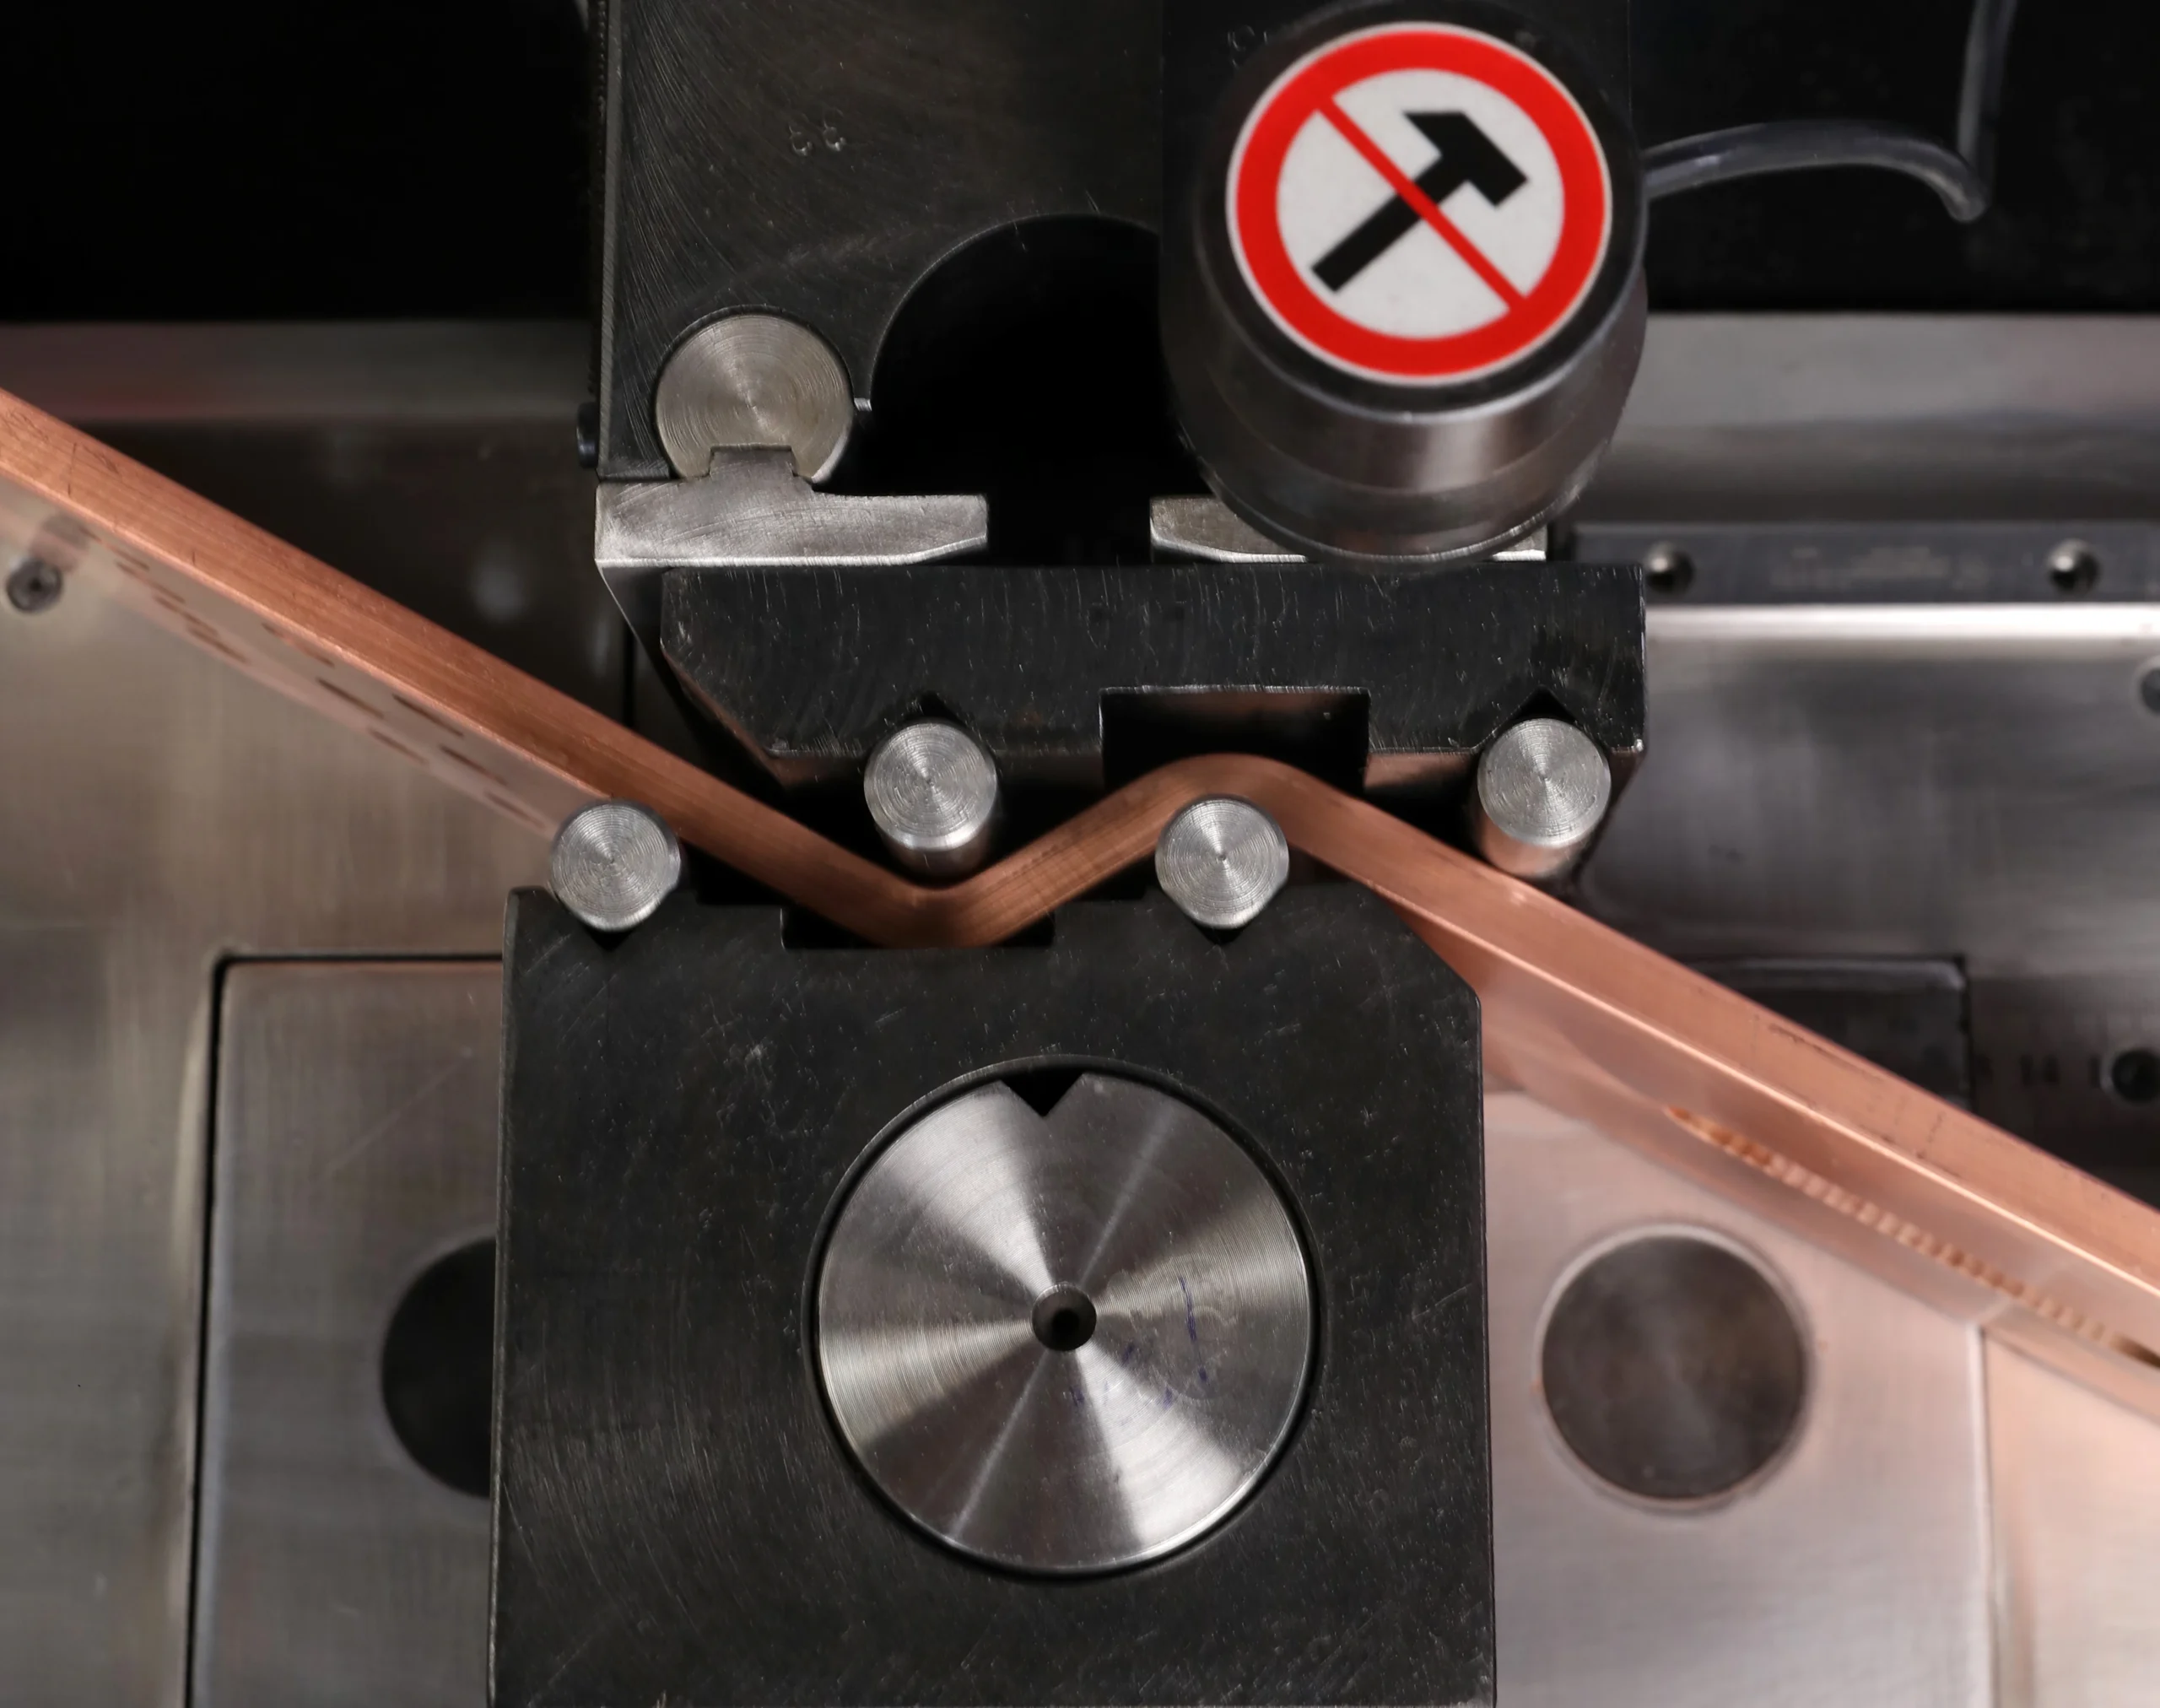
While standards don’t specify a scrap length, IEC 61439 frames the assembly performance (temperature rise, dielectric, short-circuit) you must meet. Pair this with the Copper Development Association’s “Copper for Busbars” design guide when defining joint geometry and spacing. Consistent, burr-free edges support reliable contact pressure and lower thermal risk. Understanding Busbar bending techniques alongside cutting standards helps engineers design assemblies that perform reliably under real operating conditions.
Buying Checklist: “Burr-Free” Claims to Validate
- Cut your copper and share macro photos of the edges.
- State burr height target and squareness on a sample report.
- Show clamp design and the required lead/tail.
- Disclose blade steel and resharpening intervals.
- Demonstrate length repeatability on three consecutive pieces. If your production requirements are unique, exploring custom bending solution may give you the precision and flexibility that standard machines cannot provide.
Price & TCO Factors That Affect Scrap and Rework
- Tooling lifecycle: blade wear, resharpening, spare sets.
- Setup waste & changeovers: how many trims per batch?
- Operator time: deburring, inspection, rework.
- Uptime: maintenance and calibration access.
- Material recycling: off-cut handling and reclaim value. Knowing when to replace busbar machines is a key TCO decision that directly affects your scrap rate, rework costs, and long-term productivity.
RFQ Checklist for Busbar Cutting Quality
- Material grade (Cu/Al), thickness × width, plating/coating.
- Preferred method (shear/saw) and edge requirement (squareness, face finish).
- Burr height target and measurement method.
- Expected lead/tail off-cut and clamp land requirements.
- Sample cuts on our bar with photos + dimensional report.
- Maintenance plan (clearance checks, sharpening cadence).
- Throughput target (parts/hour), changeover time.
FAQs
Why is there scrap when cutting busbars?
Clamps need land and blades need overlap; trimming removes deformed zones to meet edge/squareness specs.
Can “burr-free” cutting eliminate off-cut entirely?
You can reduce scrap with optimized tooling and fixturing, but most setups still need small lead/tail trims—verify on your own bars.
Shearing vs sawing—what should I pick?
Shearing = speed and minimal kerf, typically needs deburr. Sawing = cleaner 90° face with kerf loss; slower. Choose by edge spec and takt time.
How do I minimize burr height?
Maintain clearance and sharp blades; standardize deburring and measure burr height in QA.