

Knowing how to choose NEMA or IP rated enclosures is one of those skills that looks simple until your panel fails in the field. Most builders — myself included — spend hours planning internal layouts, component spacing, and wiring routes, then spend five minutes picking the enclosure itself. That mismatch is exactly where reliability problems begin. NEMA ratings, IP ratings, and pollution degree classifications each answer a different question about your installation environment. Understanding how they work together — and where they don’t overlap — is what separates a panel that lasts from one that needs a rebuild six months later. This is the project where I learned that the hard way.
Alternatively, an audio version of this article is available below for your convenience:
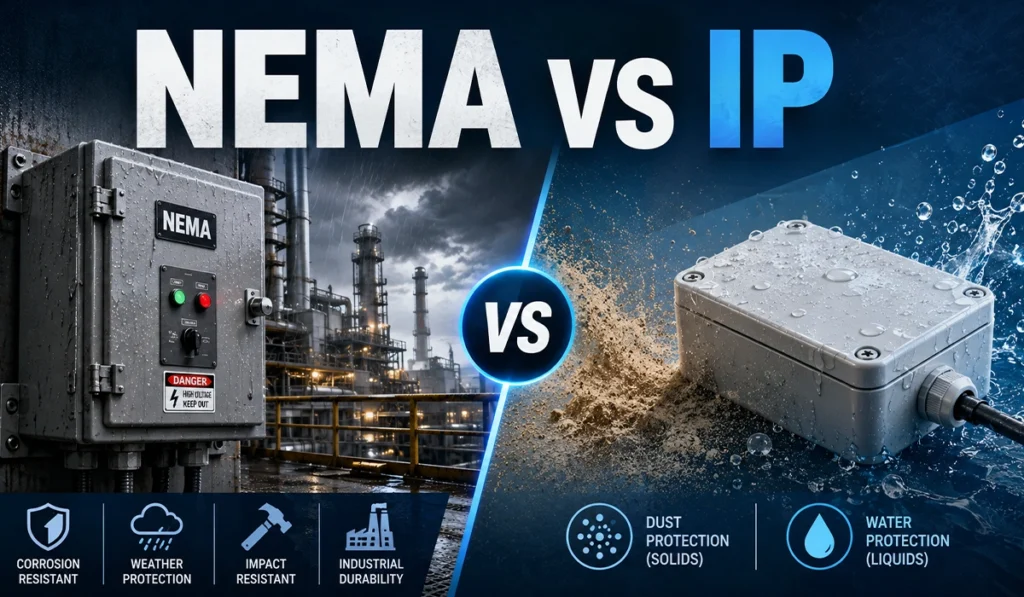
How to Choose NEMA or IP Rated Enclosures: What This Project Taught Me
I’ve built small DIY electrical panels for workshop tools, pump controls, and test benches for years, and I’ll be honest: for a long time, I treated enclosure ratings like “nice-to-have labels” instead of design decisions.
That mindset cost me time, money, and a very embarrassing rebuild.
This project started when I decided to build a compact control panel for a dusty workshop setup: a small three-phase motor starter system with a timer relay, contactor, MCB, terminal blocks, indicator lamps, and an emergency stop. Nothing huge. I thought it would be a weekend project.
It turned into a full lesson in enclosures & environmental ratings (NEMA / IP / pollution degree).
My biggest mistakes were exactly the kind many DIY builders make:
- Assuming NEMA 12 and IP55 are “the same thing”
- Ignoring pollution degree
- Confusing the word pollution with environmental smog instead of electrical insulation terminology
- Choosing an enclosure first and reading the details later
In this story, I’ll walk you through the project from start to finish — including the parts I got wrong, what I learned from real-world conditions (dust, moisture, vibration, coolant mist), and how I changed the design.
If you build electrical panels, machine control boxes, or industrial DIY projects, this will save you real headaches.
NEMA enclosure (PDF)
IP Ratings (PDF)
How to Choose NEMA or IP Rated Enclosures — Starting With the Wrong Question
When I started, my goal was straightforward: build a reliable control box for a workshop machine area where there was:
- airborne dust from cutting and grinding,
- occasional oil mist,
- occasional splashes during cleaning,
- temperature swings between morning and afternoon,
- and a lot of vibration from nearby equipment.
I was using a mix of components I had on hand and new parts:
- Schneider Electric contactor
- Siemens miniature circuit breaker
- Phoenix Contact terminal blocks
- Schneider Harmony pushbuttons
- A generic metal enclosure from a local supplier (this is where the trouble began)
At first, I focused on the internal wiring layout: spacing, DIN rail placement, wire duct sizing, cable gland entry points, and future maintenance access.
What I should have focused on first was the environment.
That’s the lesson I wish someone had drilled into me earlier: the enclosure is not just a box — it is part of the electrical design.
If you found this article helpful, you may also want to read our article on Impact of IEC, UL, and CE Standards on Switchgear and Busbars.
My First Mistake: I Chose the Enclosure by Size and Price
I found an enclosure that looked perfect in dimensions. It had a clean powder-coated finish, a mounting plate, and a rubber gasket. The seller described it as “industrial” and “dust resistant.”
I bought it immediately.
Only later did I realize the listing didn’t clearly specify:
- exact NEMA rating
- exact IP rating
- test conditions
- gasket material details
- door latch compression quality
It was a classic DIY mistake: I bought based on appearance and assumptions.
For those seeking deeper technical insight, the following authoritative sources provide comprehensive guidance.
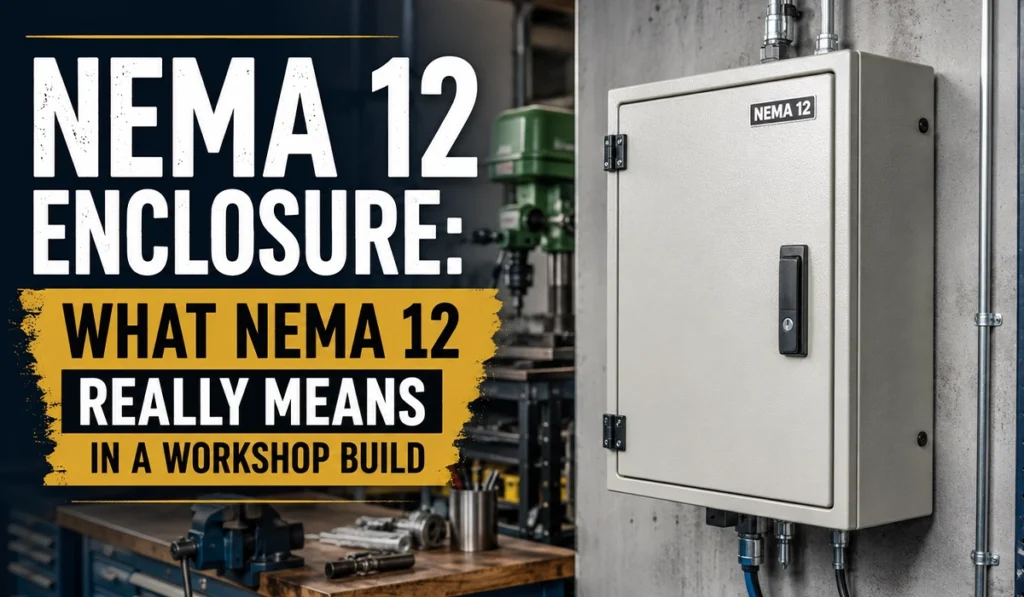
NEMA 12 Enclosure: What NEMA 12 Really Means in a Workshop Build
After the first installation, I started reading enclosure specs more carefully and kept running into the same question:
- What is NEMA 12?
- What does NEMA 12 mean in practice?
- What protection does a NEMA 12 rating actually provide?
I had seen “NEMA 12 enclosure” mentioned in industrial catalogs from nVent HOFFMAN, Rittal, and Hammond Manufacturing, but I never properly compared it to my actual use case.
What I Learned About a NEMA 12 Enclosure
In practical workshop terms, a NEMA 12 enclosure is typically intended for indoor industrial use and helps protect against things like:
- circulating dust
- falling dirt
- lint/fibers
- dripping or light splashing of non-corrosive liquids (depending on design/testing)
- oil/coolant seepage in some industrial environments (product-specific)
That sounded exactly like what I needed.
But here’s the catch: I had assumed “dust resistant” from a seller description was enough. It wasn’t.
A true NEMA 12 enclosure is not just about having a gasket. It’s about the overall construction quality:
- door fit
- latch pressure
- seam design
- cable entry sealing
- mounting holes
- knockout treatment (if any)
- accessory compatibility
The Dust Test I Didn’t Mean to Run
About two weeks after installation, I opened my panel during troubleshooting because one pilot light had become intermittent.
Inside the enclosure, I found a fine layer of dust along the bottom lip and near the terminal blocks. Not a disaster, but enough to make me stop and think.
The dust had entered through:
- a poorly tightened cable gland,
- a low-quality door gasket compression area near the hinge side,
- and one tiny unused hole I had “temporarily” plugged with tape.
That tape was my second mistake. Temporary fixes in dusty workshops become permanent very fast.
For further reading on IP55 vs NEMA 12: What’s the Difference? , see our related article here.
How I Rebuilt It Using a Proper NEMA 12 Approach
I replaced the enclosure with a better one (this time from a reputable industrial line), and I redesigned the entries:
- proper metal cable glands with correct sealing inserts
- blanking plugs for unused entries
- drip loop on incoming cables
- internal shield plate to reduce direct dust path
- periodic inspection label on the inside door
I also moved the terminal blocks slightly higher because dust tends to settle low in enclosures, especially in workshops where vibration shakes particles loose.
That one decision made future maintenance cleaner.
How to Choose NEMA or IP Rated Enclosures: A Practical Comparison Table
Before continuing the build, I created a comparison table to stop myself from mixing standards and assumptions.
This was my working table (simplified for real-world DIY planning):
| Topic | What it tells me | What it does not tell me | Why it mattered in my project |
|---|---|---|---|
| NEMA 12 | Industrial enclosure protection intent (indoor dust, dirt, drips) | Exact IP equivalence (not 1:1) | Helped me choose a better indoor industrial enclosure |
| IP54 | Dust-protected + splash water protection | Oil mist resistance, latch quality, construction robustness | Borderline for my dusty/cleaning-prone workshop |
| IP55 | Dust-protected + protection against water jets (test-defined) | Full washdown suitability or corrosion resistance | Better choice for occasional hose/cleaning exposure risk |
| Pollution Degree 2 | Insulation environment with non-conductive pollution (occasional condensation possible) | Enclosure tightness rating by itself | Affects component clearance/insulation assumptions |
| Pollution Degree 3 | More severe pollution/condensation exposure assumptions | Mechanical enclosure strength | Pushed me to rethink internal component suitability |
That table stopped me from making the same mistake again: I stopped asking “Which rating is higher?” and started asking “What risk am I actually designing for?”
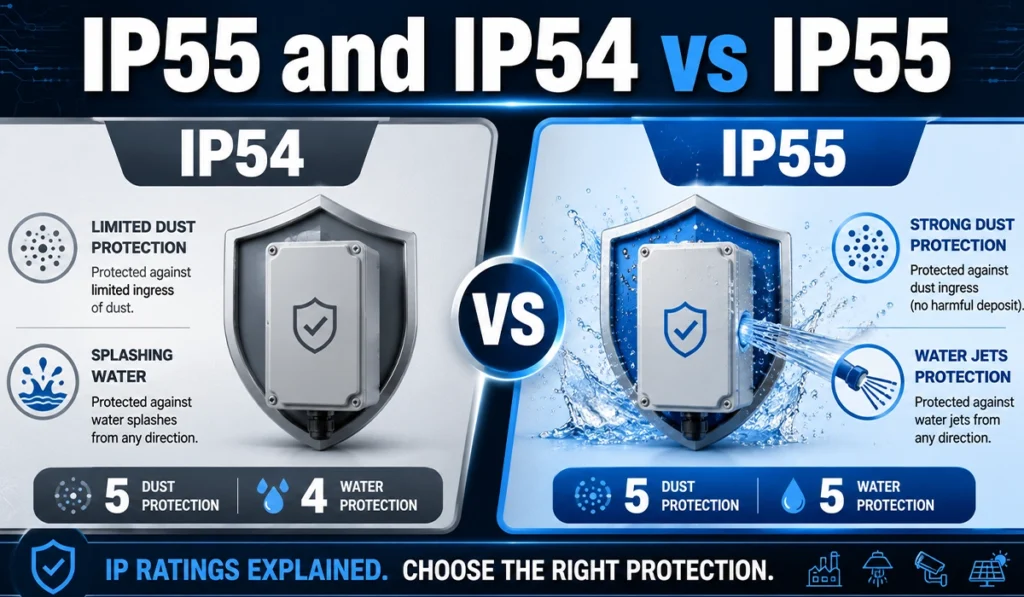
IP55 and IP54 vs IP55: The Outdoor-Looking Problem Inside an Indoor Workshop
Once I fixed the NEMA side of my thinking, I ran into my next confusion:
What is IP55? What is the difference between IP54 and IP55?
I initially thought, “The first digit is dust, second digit is water. IP55 is just slightly better. Probably not worth caring about.”
That assumption was too casual for my environment.
What Is IP55 in Practical DIY Terms?
In practical terms, IP55 generally means:
- protection against harmful dust ingress (not necessarily dust-tight)
- protection against water jets from defined directions/test conditions
For me, the important part wasn’t outdoor rain. It was workshop cleaning behavior.
In real workshops, people don’t clean gently. Someone sprays compressed air, wipes with a wet rag, or uses a hose nearby. Moisture and fine particles move in weird ways. They don’t respect your original design intent.
If you need more information about IP check this.
Why IP54 vs IP55 Became a Real Decision
My first enclosure could probably survive a little splash. But I realized my machine area had a recurring event I hadn’t planned for: the floor was being cleaned at the end of the shift, and water mist was hitting nearby equipment.
That changed everything.
Here’s the simple version I used for my own decision-making:
| Rating | What I assumed before | What I realized later |
|---|---|---|
| IP54 | “Good enough for indoors” | May be okay for many indoor panels, but my cleaning pattern and dust made it risky |
| IP55 | “Probably overkill” | A smart buffer for real-world splashes and maintenance habits |
The extra margin mattered more than the price difference.
My Cable Entry Rework for IP55 Performance
Even the best-rated enclosure can be ruined by poor installation. I learned that the hard way.
To support an IP55-style build approach, I changed:
- Top entries to bottom entries where possible (less chance of liquid tracking in)
- standard glands to higher-quality sealed glands
- flat cable routing to looped routing to reduce direct drip path
- poorly seated door gasket to a properly inspected, continuous seal
- sharp cutouts to CNC/step-bit clean cutouts with proper gland seating
I also stopped overfilling the gland plate area. Cramming too many entries together makes sealing and maintenance miserable.
The “Looks Sealed” Trap
This was one of my biggest practical lessons:
A panel can look sealed and still fail in service.
You only discover weak points when:
- vibration loosens fittings,
- the door gets opened and closed often,
- a technician overtightens one side of the latch,
- or a cable gets replaced with a slightly different diameter and the old gland insert is reused.
After the rebuild, I started doing a basic inspection checklist every month. It took five minutes and prevented repeat issues.
Pollution Degree 2 and Pollution Degree 3: The Hidden Spec I Ignored
If NEMA and IP ratings were the visible part of the problem, pollution degree was the invisible part.
And honestly, this is where I used to zone out when reading technical documentation.
I would see:
- Pollution Degree 2
- Pollution Degree 3
…and skip ahead.
That was a mistake, because pollution degree affects how you interpret insulation and component suitability in the intended environment.
What Is Pollution Degree in Electrical Design?
In electrical insulation terminology, pollution degree describes the environmental conditions that can affect insulation performance due to contaminants and moisture.
This is not just “dirty air” in the everyday sense.
It includes things like:
- dust deposition
- conductive particles
- moisture
- condensation
- contamination that changes insulation behavior over time
That became very real in my workshop because morning condensation was occasionally forming on metal surfaces during seasonal temperature swings.
Pollution Degree 2: What I Thought I Had
I initially assumed my panel environment was basically clean enough to be pollution degree 2.
In many indoor control panels, that’s a common design assumption: mostly non-conductive pollution, with only temporary conductivity caused by occasional condensation.
That sounded reasonable on paper.
But my real installation had:
- fine conductive dust risk from metalworking nearby
- intermittent moisture
- oil film buildup over time (which traps dust)
- imperfect housekeeping around the machine area
That combination made me pause and reassess.
Pollution Degree 3: Why I Had to Respect It Even If I Didn’t Fully “Upgrade” Everything
I’m not saying every DIY workshop panel automatically becomes pollution degree 3.
But I am saying this: if your environment is harsher than a clean indoor cabinet room, you need to stop pretending it’s a lab bench.
Pollution Degree 3 generally reflects more severe contamination conditions where conductive pollution can occur, or dry non-conductive pollution can become conductive due to condensation.
That description fit parts of my workshop conditions more than I wanted to admit.
So instead of arguing with the label, I improved the design:
- upgraded enclosure sealing quality
- improved cable entry integrity
- increased cleaning discipline around the panel area
- relocated the panel away from the most contamination-prone zone
- added a simple transparent cover shield over the operator-facing controls
- reviewed component datasheets for installation environment assumptions
This is one of those moments where a standards concept changed my actual build decisions.
Pollution Meaning in English: The Terminology Confusion That Wasted My Time
One surprisingly annoying part of this project was language.
I remember searching for “pollution degree” and then second-guessing myself because the word pollution in everyday English usually makes people think of:
- air pollution
- water pollution
- environmental contamination
- city smog
That’s normal.
What the Meaning of Pollution in English Is (General vs Technical)
In general English, pollution means contamination of an environment by harmful substances.
But in electrical standards and insulation context, the term is more specific: it refers to contamination conditions (dust, moisture, conductive deposits, condensation effects, etc.) that influence insulation performance.
That distinction matters because if you interpret it only in the environmental/smog sense, you may completely misunderstand what pollution degree 2 or pollution degree 3 is trying to tell you.
I lost at least an hour early in this project because I was reading the word emotionally (“My workshop isn’t polluted”) instead of technically (“My installation has contamination and condensation risk”).
How I Explain It Now to Other DIY Builders
Now when friends ask me, I explain it like this:
“In enclosure and insulation design, ‘pollution’ doesn’t mean your workshop is environmentally dirty. It means contamination conditions that can affect electrical insulation.”
That one sentence clears up a lot of confusion.
Enclosures & Environmental Ratings in My Final Build: What Changed From Version 1 to Version 2
By the time I built Version 2 of the panel, it looked similar from the outside — but internally it was a different project.
I had gone from “assemble components in a box” to “design for environment first.”
The Final Build Changes That Actually Improved Reliability
Here’s the before/after summary from my project log:
| Area | Version 1 (problematic) | Version 2 (improved) | Result |
|---|---|---|---|
| Enclosure selection | Size/price first | Environment/rating first | Better fit for real workshop conditions |
| Cable entries | Mixed quality glands | Rated glands + blanking plugs | Less dust/moisture ingress risk |
| Panel location | Near contamination source | Relocated to cleaner side wall | Lower exposure to dust and splash |
| Door sealing | Assumed okay | Inspected gasket compression + latch alignment | More consistent sealing |
| Maintenance | Reactive only | Monthly visual inspection checklist | Fewer surprises |
| Terminology understanding | NEMA/IP/pollution degree mixed together | Used each standard for its actual purpose | Better design decisions |
My Simple Field Check Routine (No Fancy Lab Required)
I’m a DIY builder, not a certification lab, so I created a practical inspection routine:
- ria-level=”1″>check gland tightness,
- vel=”1″>inspect gasket for flattening/cracks,
- look for dust trails near seams,
- inspect bottom lip for residue buildup,
- check condensation signs on cool mornings,
- retorque mounting hardware if vibration is present,
- photograph the inside every few months for comparison.
That last one helps more than people think. Photos reveal gradual buildup you stop noticing.
Learning how to choose NEMA or IP rated enclosures properly isn’t something most DIY builders prioritize — until they open a panel and find dust on the terminal blocks.
Looking for detailed guidance on CE Marking for Industrial Control Panels? Read our full article here.
How to Choose NEMA or IP Rated Enclosures: My Field Decision Chart
After this project, I made myself a quick decision chart for future builds.
It’s not a substitute for standards or manufacturer documentation, but it’s a great first filter.
My DIY Panel Environment Screening Chart
| Question | If “Yes” | What I do next |
|---|---|---|
| Is there airborne dust/fibers/metal particles? | High contamination risk | Prioritize enclosure sealing and entry design |
| Is there routine washdown, splashing, or hose cleaning nearby? | Water exposure risk | Compare IP54 vs IP55 (or higher) more seriously |
| Is it an indoor industrial area (not clean office space)? | Industrial conditions | Review NEMA enclosure type and construction quality |
| Is condensation possible (temperature swings)? | Insulation risk | Reassess pollution degree assumptions |
| Is oil/coolant mist present? | Seal degradation/contamination risk | Choose materials and maintenance intervals carefully |
| Will the panel be opened frequently? | Seal wear risk | Improve serviceability and inspection schedule |
This chart changed my behavior. I no longer choose enclosures by dimensions alone.
Conclusion: The Best DIY Upgrade Wasn’t a Component — It Was My Thinking
I started this project thinking the hard part would be wiring the panel cleanly.
It wasn’t.
The hard part was learning to respect the environment the panel lives in.
Once I stopped treating NEMA 12, IP55, IP54, and pollution degree 2 / pollution degree 3 as random catalog labels, my build decisions improved fast:
- better enclosure choice,
- better cable entry design,
- better placement,
- better maintenance habits,
- fewer reliability surprises.
If you’re building your own control panel, here’s my strongest advice:
Design the panel for the real world, not the bench you assembled it on
Dust, condensation, vibration, cleaning habits, and operator behavior will test your design long before a meter does.
And if you’re ever unsure, slow down and read the enclosure and component datasheets properly. That one hour of reading can save you a full rebuild.