


Conduit & Wiring Installation: Why I Decided to Go Underground
The project started because I was tired of temporary solutions.
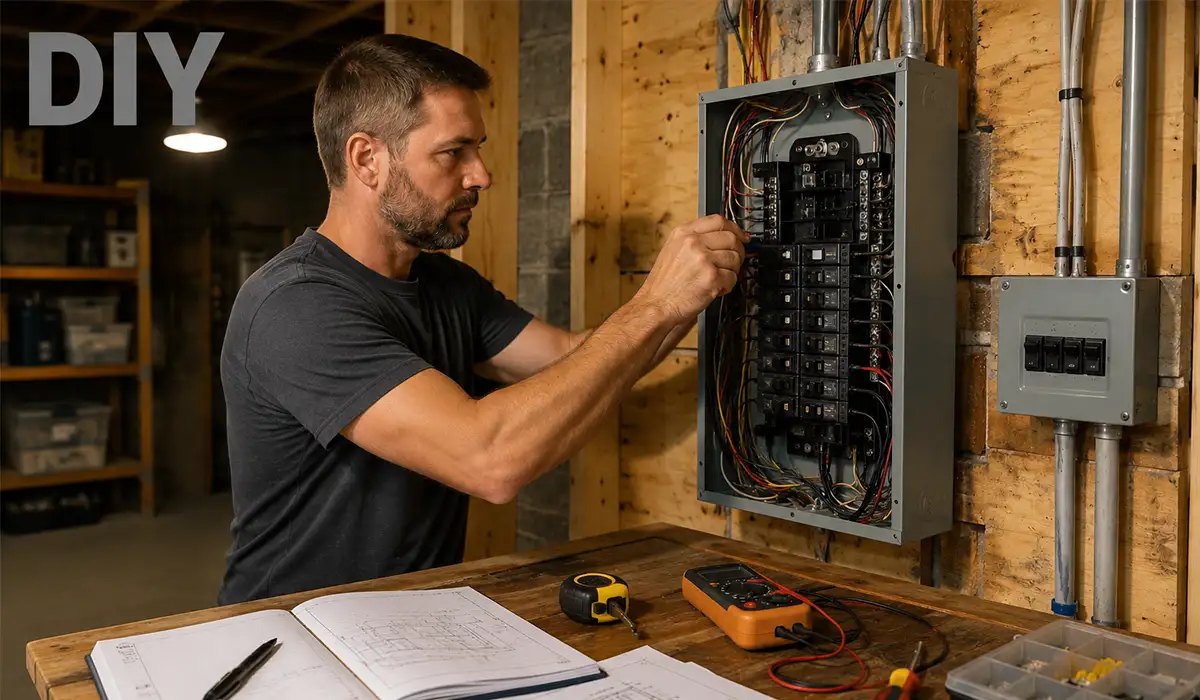
I had an outdoor area behind my house where I did small electrical panel mockups, tool testing, and occasional fabrication work. I was running an extension cord more often than I wanted to admit. It worked, but it was ugly, inconvenient, and absolutely not something I wanted to rely on long term.
I also wanted data communication for a device I was testing outdoors—something that needed a stable connection and not flaky Wi-Fi. That meant I was thinking about both power and signal wiring, not just one cable.
At first, I considered overhead wiring between two points, but I quickly ruled it out. Underground conduit felt cleaner, safer, and more professional-looking. It also matched how I like building things: do it once, do it right, and make future maintenance easier.
That “future maintenance” point ended up being the reason I chose conduit instead of direct burial cable. I knew I might upgrade later.
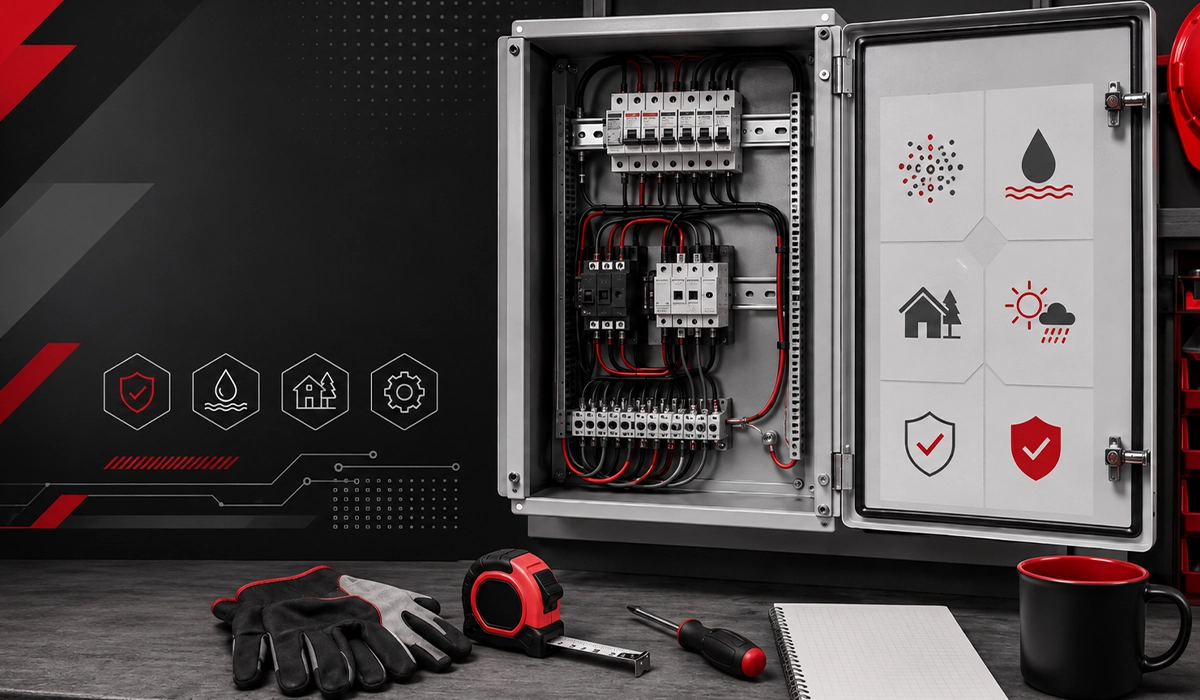
If the information related to Conduit & Wiring Installation was interesting and informative to you, researching Electrical Panels and Switchgear Basics can be very engaging.
Conduit & Wiring Installation: The First Mistake I Made Was Assuming the Depth
I started with the classic beginner mistake: I assumed there was one universal trench depth for everything.
There isn’t.
What I learned (after stopping and re-checking) is that burial depth requirements depend on the wiring method, location, and circuit details, and the NEC uses minimum cover requirements in Table 300.5. Also, “cover” is measured to the top of the wiring method/raceway, which is not the same thing as trench depth.
That one detail alone saved me from digging a trench that looked deep enough but would have failed inspection.
Further exploration of Wire Is Suitable for Industrial Electricity can be found in the following recommended reading.
I also learned that many people casually repeat “18 inches” without context. In many common PVC conduit situations, that number may apply, but not always. Even example summaries of NEC-based guidance show different depths depending on conduit type and installation conditions.
This website offers useful supporting information for understanding the subject more clearly.
My practical rule after that mistake
I stopped using “rules of thumb” and started using a checklist:
- What exact wiring method am I using?
- Is it PVC conduit, metal conduit, or direct burial cable?
- What kind of circuit is it?
- What does my local authority require (including amendments)?
- What is measured as cover vs trench depth?
That one reset changed the whole project from “guess-and-go” to a real installation.
Conduit & Wiring Installation: Choosing the Underground Conduit Type
Once I got serious, the next decision was the conduit itself.
I considered three realistic options for my DIY project:
- PVC conduit (Schedule 40 / Schedule 80)
- Rigid metal conduit (RMC)
- Direct burial cable (not conduit-based, but tempting for speed)
I chose PVC conduit for most of the underground run because it gave me corrosion resistance, easier handling, and a path for future wire replacement. But I didn’t just buy random PVC and call it a day.
I learned that Schedule 40 and Schedule 80 are not interchangeable in every situation, especially where physical damage is a concern. Manufacturer guidance and NEC references commonly note that Schedule 80 is used where greater physical protection is needed, while underground runs often use Schedule 40 where permitted. Prime Conduit’s FAQ also repeatedly emphasizes checking the latest NEC and conditions of use.
That matched what I was seeing in practice: the horizontal underground section could be one thing, but transitions, exposed risers, or impact-prone zones needed more thought.
For a comprehensive understanding of Rittal Electrical Panels, we highly recommend reviewing this article.
What I actually used (and why)
| Item | What I Used | Why I Chose It | What I’d Do Again |
|---|---|---|---|
| Underground raceway | PVC conduit (main run) | Easier to cut, glue, and route | Yes |
| Riser / exposed section | Heavier-duty section (where needed) | Better mechanical protection | Yes |
| Pull string | Pre-installed + extra pull string | Cheap insurance for future pulls | Absolutely |
| Conductor type | Wet-location rated conductors | Underground = wet location | 100% yes |
| Warning tape | Installed above conduit | Helps future digging avoid damage | Yes |
I also paid more attention to fittings than I expected. Cheap fittings or sloppy solvent joints can ruin an otherwise good job.
And yes—I absolutely dry-fit more than once before gluing. That saved me from one very embarrassing misalignment near the wall entry.
Conduit & Wiring Installation: Planning the Route Before Digging
This was the part I almost rushed, and I’m glad I didn’t.
I originally drew a straight line from Point A to Point B. Then real life showed up:
- Existing walkway edge
- Drainage path
- A tree root zone
- A fence post footing
- Future garden area my family definitely planned to dig later
As result, I re-routed.
I marked the path with spray paint and stakes, then walked it multiple times with a tape measure. I also planned where I would need sweeps instead of tight bends. Underground conduit work gets frustrating very quickly if you treat bends casually and then try pulling conductors later.
My first route would have looked cleaner on paper. The second route was better in real life.
If you are looking for more information Capacitor Switchboard Guide, it is recommended not to miss reading this article.
Simple project timeline chart (planned vs actual)
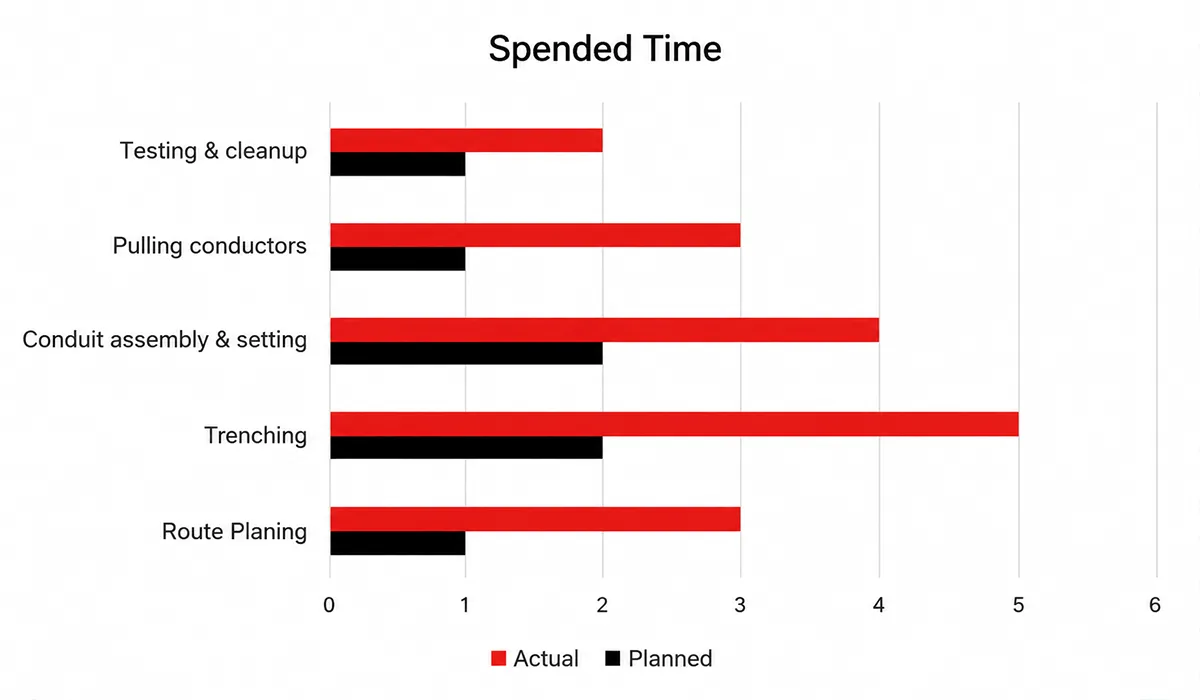
That second trip to the store? A humbling DIY tradition.
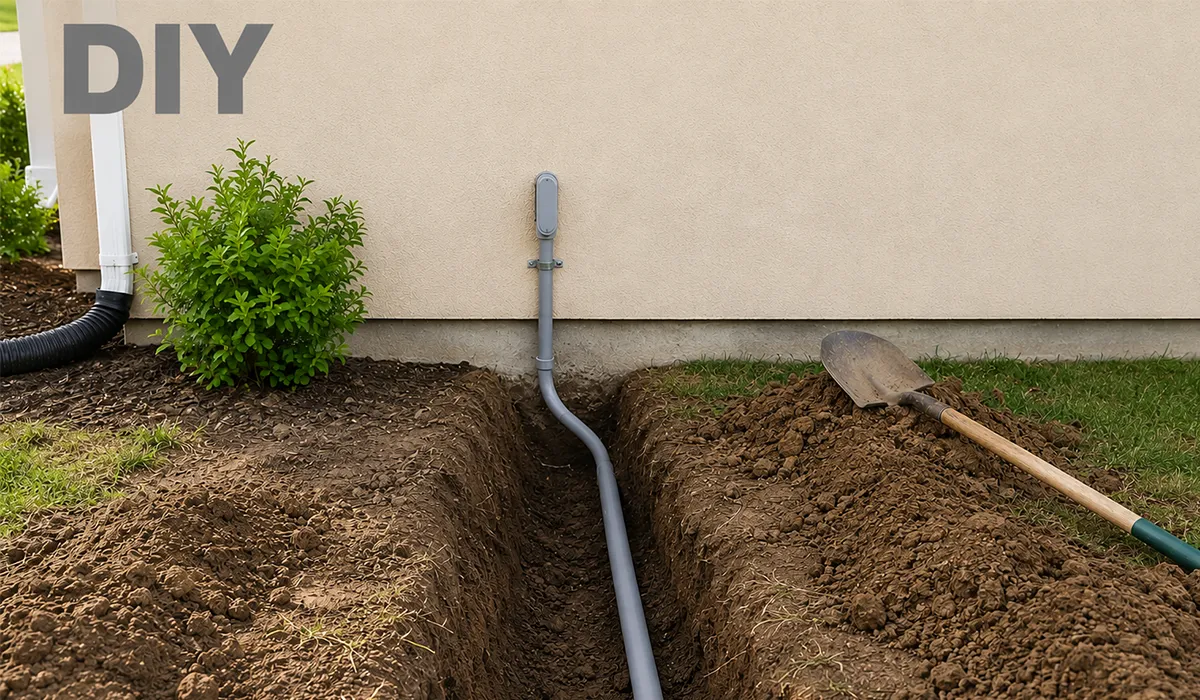
Conduit & Wiring Installation: How I Installed the Conduit Underground
This was the physical heart of the project.
I dug the trench in sections instead of trying to finish the entire length at once. That helped me keep the depth more consistent and avoid turning the whole yard into a mess.
The soil changed a lot across the run. Near the patio, it was compacted and full of gravel. Near the back edge, it was softer but had roots. I broke one shovel handle and ended up switching to a trenching shovel and a digging bar.
Once the trench was open, I started placing the conduit sections.
This article serves as a valuable resource for those seeking detailed information on Harmonic Filters.
What worked well during installation
- Dry fitting first: I assembled sections without cement to confirm alignment.
- Keeping bends gentle: Pulling wire later is easier when you respect bend geometry.
- Checking cover repeatedly: I measured more than I thought I needed.
- Protecting the conduit bed: I removed sharp rocks near the conduit path.
NFPA-related guidance summaries on NEC Article 300 also highlight backfilling concerns and note that backfill should not contain materials that can damage the raceway; sand or selected material is commonly used before final backfill. They also emphasize AHJ inspection before closing trenches. (Fire & Safety Journal Americas)
That matched what an experienced electrician once told me: “A trench looks easy until your backfill crushes what you just installed.”
The mistake that cost me an extra hour
I glued one section before confirming the final angle into the building entry point.
It was off by just enough to create tension. Not a dramatic error—but exactly the kind that causes problems later.
I had to cut it back, add a coupling, and rebuild the transition. Lesson learned: underground conduit is forgiving only if you catch the mistake early.
Further exploration of GE Breakers can be found in the following recommended reading.
Conduit & Wiring Installation: Pulling the Wiring and Understanding Wet Locations
If trenching is the tiring part, wire pulling is the “this should be easy… why is this so hard?” part.
I assumed the conductors would glide through. They did not.
I used fish tape, then pull string, then lubricant, then patience. The biggest improvement came from slowing down and having one person feed while I pulled smoothly instead of jerking the line.
Here’s the critical thing I learned (and I’m glad I caught this before finalizing materials): underground raceways are treated as wet locations, so the conductors need to be suitable for wet conditions. NFPA guidance summaries and manufacturer FAQs both reinforce this point, including the common reference to conductor types with a “W” wet-location rating.
That one detail matters a lot. It’s easy for a beginner to think, “But the conduit is closed, so it stays dry.” In reality, moisture/condensation intrusion is expected in conduit systems. Prime Conduit explicitly notes that moisture can get in through joints or condensation and references wet-location requirements.
This reference page is useful for readers who want to study the topic beyond this article.
My wire-pulling lessons (the hard way)
- Don’t overfill the conduit “because it fits”
- Use proper pulling lubricant
- Label both ends immediately
- Leave extra length at both ends
- Pull an extra string for future upgrades
That last one made me feel like I had finally graduated from beginner mode.
Conduit & Wiring Installation: The Data Cable Question (Ones and Zeros as Voltage Changes)
This part was unexpectedly fun because it connected DIY work with communication theory.
One of your titles asks:
what kind of wiring is in cables that communicate in voltage changes as ones and zeros
When I first got into electrical work, I imagined data cables as “mystery wires.” But once I started learning, it clicked.
In simple terms, data communication cables carry signals that represent digital information (1s and 0s)—not always as a single wire switching between “on” and “off,” but often as encoded signals across pairs or other media. Electronic Design explains digital communications in terms of binary data and transmission media (including copper cable and fiber), and also distinguishes baseband vs broadband methods.
You can find more background information and related technical notes through this reference link.
For my project, the practical choices were:
- Twisted-pair copper data cable (Ethernet-style)
- Coax (less common for what I needed)
- Fiber (excellent, but overkill for my small DIY run)
What helped me most was understanding differential signaling on twisted pairs. DigiKey’s explanation (in a PoE/Ethernet context) describes how the receiver measures the voltage difference between the wires in a pair, which improves noise rejection.
That explains why twisted-pair data cabling performs so well around real-world electrical noise—when it’s installed properly.
Microchip’s Ethernet application note also gives a nice engineering-level view of how Ethernet uses line encoding and differential signaling over twisted pair, which helped me connect theory to actual cable behavior.
How I applied that in my DIY setup
I didn’t treat the data line like “just another wire.”
I planned it as a communication line with its own purpose and future troubleshooting needs. I labeled it clearly and routed it thoughtfully so I wouldn’t forget what was what a year later.
That may sound basic, but good labeling is the difference between a 5-minute fix and a 2-hour headache.
If you are looking for more information about Underground Electrical , it is recommended not to miss reading this article.
Conduit & Wiring Installation: Real-World Problems I Faced (and How I Solved Them)
This is the part most polished DIY tutorials skip.
1) The trench wall kept collapsing in one section
I was working after a wet day, and one side of the trench started sloughing in. Not a dangerous collapse, but enough to keep burying the conduit while I was trying to align it.
Fix: I worked in shorter sections, cleaned the base again, and set the conduit before the trench sides had time to crumble more.
2) I underestimated transition points
The underground portion was easy compared to the point where the conduit emerged and had to align with the entry.
Fix: I stopped forcing the geometry and rebuilt the transition with better alignment. This is where dry-fitting saved the project.
3) I almost forgot future movement/temperature considerations
In my region, soil movement and seasonal changes matter. NEC guidance summaries tied to NFPA Article 300 also discuss earth movement/frost heave and the need for expansion fittings in certain cases.
You can visit the official website for more detailed and updated information.
Fix: I reviewed where movement could affect the conduit path and adjusted the exposed/transition portions accordingly.
4) I wanted to backfill too fast
Once the conduit looked good, I was tempted to close the trench immediately.
Fix: I paused, re-measured, photographed the run, and checked all joints and entries one more time. That extra time felt annoying in the moment and invaluable later.
Conduit & Wiring Installation: Final Testing, Cleanup, and the First Successful Power-Up
The best moment in the whole project wasn’t digging the trench or gluing the last fitting.
It was the first clean test.
After final terminations were handled safely (and with proper respect for code/inspection requirements), I checked continuity, verified the run, and powered the circuit. Then I tested the data side.
Everything came up correctly.
No flicker. No mystery trip. No dead line.
I stood there for a minute longer than I needed to, just enjoying the feeling that the job was finally done—and done in a way that I could trust.
What this project taught me about DIY electrical work
It taught me that successful conduit & wiring installation is less about “being handy” and more about:
- planning,
- measurement,
- patience,
- and knowing when to slow down.
The trench is just dirt. The real work is in the decisions.
Conduit & Wiring Installation Conclusion: What I’d Tell Anyone Starting This Project
If you’re about to start your own conduit & wiring installation project, here’s my honest advice:
Start smaller in your head than the project looks on paper.
By that I mean: don’t think of it as “one job.” Think of it as five jobs:
- Route planning
- Code/permit/depth planning
- Trenching
- Conduit installation
- Conductor pulling and testing
That mindset makes the work less chaotic and the mistakes easier to catch.
Also, don’t let online shortcuts convince you that underground electrical work is mostly digging. It isn’t. Digging is the easy part. The hard part is doing a clean install that stays reliable for years.
I made mistakes on this project, but I’m glad I did—because the next conduit run I do will be faster, cleaner, and much less stressful.
And honestly, that’s what a good DIY journey is supposed to do: give you a result and a skill.
FAQ about Underground Electrical