
Prefer listening? You can play the audio version of the rest of this article below.
Why Accurate Busbar Bending Calculation Matters in Panel Fabrication
In practice, how to calculate copper busbar bending and cutting length is not a drafting nicety. It decides whether the finished bar lands cleanly on terminals, sits square on insulators, and fits the enclosure without forcing the assembly.
Copper busbars are rigid conductors, unlike cables that can be rerouted to absorb small dimensional errors. If the pre-bend length is wrong, the mistake usually becomes rework, scrap, or mechanical stress at the joint.
That matters in switchgear because dimensional discipline supports creepage, clearance, and assembly verification under IEC 61439. A bar that is “close enough” on the bench may still be wrong in the finished panel.
If the details you gathered about Accurate Busbar Bending Calculation were interesting and insightful, you may find diving deeper into Busbars for Power Distribution Systems equally captivating.
Good busbar fabrication calculation also improves repeatability. Once tangent points, bend radii, and cut lengths are controlled, manual and CNC shops both reduce fitting time, preserve contact integrity, and cut waste from stock copper.
Read more about switchgear systems
Key Concepts Before You Start the Busbar Bending Calculation
Before you apply any busbar cutting length formula, lock down the language of the job. Developed length, flat length, blank length, and pre-bend length are related terms, but they only stay consistent when everyone measures from the same features.
For copper busbar bending calculation, three ideas control the result: the neutral axis, the inside bend radius, and the way straight legs are measured to the tangent points rather than to the bend centerline. If you are looking for more information about busbar fundamentals, it is recommended not to miss reading this article.
You also need to separate bend allowance from bend deduction. They describe the same bend from two different layout methods, and both can produce the same cut length when applied correctly.
Finally, copper temper matters. Soft-annealed and hard-drawn bars do not behave the same, and neither do tight bends and large-radius bends. That is why K-factor, minimum radius, and springback all move together.
See the fundamentals of metalworking bending
Neutral Axis and K-Factor in Copper Busbar Bending
When a flat copper bar bends, the inside face compresses and the outside face stretches. Between them sits the neutral axis—the layer that changes direction without changing length. The K-factor is the neutral-axis position expressed as a fraction of thickness, measured from the inside face.
For shops asking how K-factor affects copper busbar bending length calculation, the answer is simple: a lower K-factor shortens bend allowance, while a higher K-factor increases it. These values below are practical starting points, not fixed standards; confirm them with a trial bend on your own tooling.
Explore copper conductor properties
| Copper Grade | Condition | r/t Ratio | Typical K-Factor |
|---|---|---|---|
| ETP Cu R220 | Soft / Annealed | r/t < 1 | 0.33 |
| ETP Cu R220 | Soft / Annealed | r/t 1–3 | 0.40 |
| ETP Cu R220 | Soft / Annealed | r/t > 3 | 0.50 |
| ETP Cu R290 | Half Hard | r/t < 1 | 0.33 |
| ETP Cu R290 | Half Hard | r/t 1–3 | 0.38 |
Inside Bend Radius for Copper Busbars
The inside bend radius is measured on the compressed face of the bend, and it is one of the most important inputs in any busbar bend allowance calculation. If the radius is too tight, the outside fibers can crack; if it is too large, the finished route may miss the intended geometry.
Use the table below as a practical starting guide for minimum bending radius for copper busbar in switchgear panels. Then confirm it against your copper temper, die set, and a sample bend.
| Copper Condition | Minimum Inside Radius |
|---|---|
| Soft annealed (R220) | 0.5 × t |
| Half hard (R290) | 1.0 × t |
| Hard drawn (R320) | 1.5 × t |
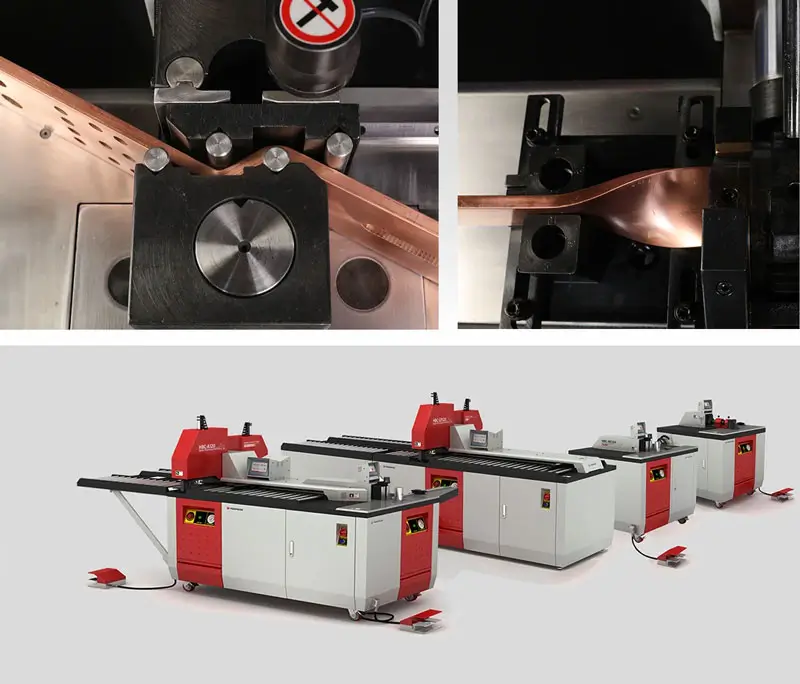
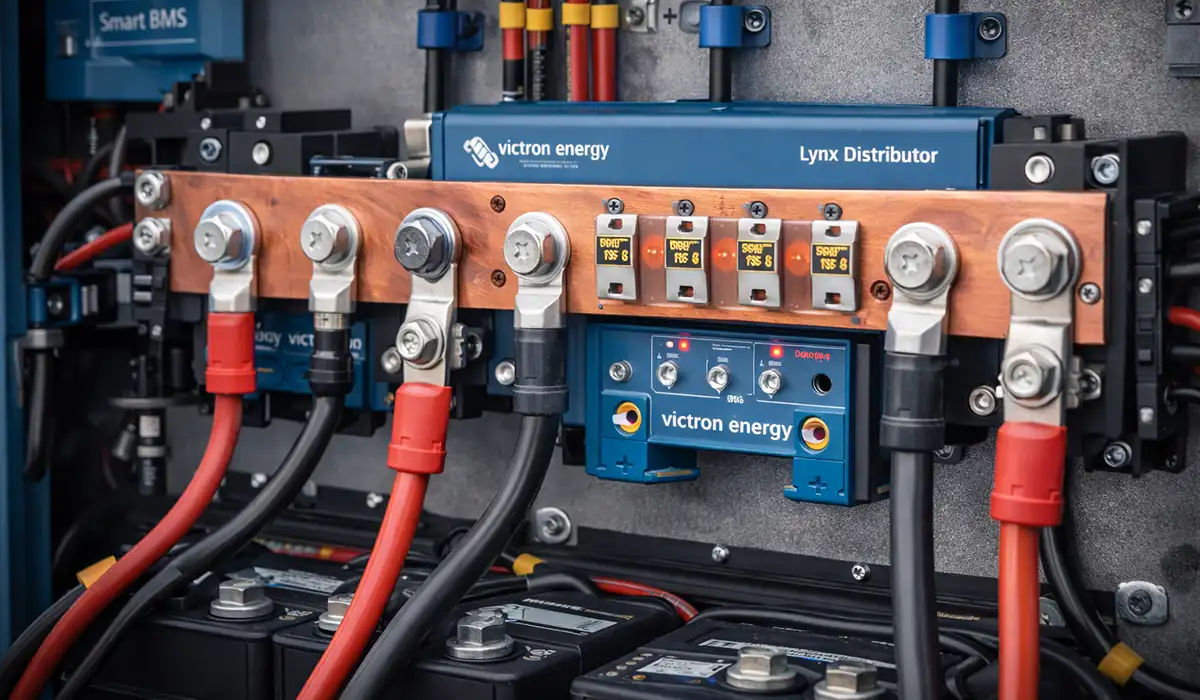
A PAYAPRESS copper busbar machine helps panel builders convert accurate bending calculations into precise finished copper busbars for switchgear and electrical panel assemblies. Since correct cutting length depends on bend allowance, inside radius, K-factor, tangent-point measurement, and springback control, using a reliable copper busbar machine by PAYAPRESS can improve dimensional repeatability and reduce costly rework. This allows manufacturers to produce busbars that land cleanly on terminals, fit properly inside enclosures, and maintain the mechanical accuracy required for professional panel fabrication.
Bend Allowance vs. Bend Deduction in Busbar Fabrication
Bend allowance (BA) is the arc length of the neutral axis through the bend. Bend deduction (BD) is the amount you subtract from two outside dimensions to get the same flat pattern. One is addition-based; the other is subtraction-based.
For fabricators comparing the difference between bend allowance and bend deduction in busbar fabrication, the key point is this: both methods reach the same developed length if the same angle, radius, thickness, and K-factor are used.
For a comprehensive understanding of busbar sizing, we highly recommend reviewing this article.
Copper Busbar Bend Allowance Formula: Step-by-Step Calculation
How to calculate copper busbar bending and cutting length becomes predictable once the bend is treated as neutral-axis arc length rather than guessed from outside dimensions. For most workshop layouts, the core relation is the standard bend allowance formula below.
BA = (π / 180) × Angle × (r + K × t)
Here, Angle is the bend angle in degrees, r is the inside bend radius, K is the K-factor, and t is material thickness. Physically, the formula estimates the length consumed as the copper bar wraps around the bend zone.
The busbar developed length or total cutting length is then assembled as: sum of straight legs + sum of all bend allowances. This is the most reliable way to answer how to calculate busbar cutting length before bending.
Further exploration of busbar design software can be found in the following recommended reading.
Always measure straight legs to the tangent points, not to the bend center. That single distinction prevents many layout errors in busbar fabrication drawing work, especially on 90° and offset bends.
| Variable | Meaning | Unit |
|---|---|---|
| BA | Bend allowance | mm |
| Angle | Bend angle | Degrees |
| r | Inside bend radius | mm |
| K | K-factor | — |
| t | Thickness | mm |
Worked Example: Single 90° Copper Busbar Bend Allowance Calculation
This is the clearest place to apply the copper busbar 90-degree bend allowance formula step by step. Take a 60 × 10 mm ETP copper bar, soft condition, with a 10 mm inside radius, one 90° bend, and leg lengths of 120 mm and 80 mm.
Because r/t = 1.0, a practical starting K-factor is 0.40. Substituting the values gives: BA = (π / 180) × 90 × (10 + 0.40 × 10) = 1.5708 × 14 = 21.99 mm, which is rounded to 22 mm for shop use.
The busbar cutting length formula is then straightforward: 120 + 22 + 80 = 222 mm. That 222 mm is the blank length, raw material length, or unfolded length you cut before bending.
Round only at the final step, and keep the same measurement convention across all legs. Mixing tangent-point dimensions with centerline dimensions is a common cause of bad switchgear fits.
| Item | Value |
|---|---|
| Busbar size | 60 × 10 mm |
| Copper grade | ETP R220 |
| Inside radius, r | 10 mm |
| K-factor | 0.40 |
| Angle | 90° |
| Leg A | 120 mm |
| Leg B | 80 mm |
| Bend allowance | 21.99 mm ≈ 22 mm |
| Total cutting length | 222 mm |
How to Calculate Cutting Length for Copper Busbars with Multiple Bends
For multi-bend parts, the logic does not change. You still build the cut length from straight segments plus the bend allowance for each bend zone, whether the bar is forming an offset, a saddle, or a routed diagonal.
That makes how to calculate the developed length of a copper busbar with multiple bends a bookkeeping problem as much as a geometry problem. Each bend gets its own angle, radius, and K-factor if the conditions differ.
Sequence also matters. A U-bend, Z-bend, and compound 45° layout may share the same flat bar thickness, but they do not share the same straight-leg measurements or setup order on the machine.
For parts with several bends, a template or layout drawing is worth the time. It exposes mistakes early, especially where manual versus CNC setups produce slightly different tangent-line marking habits.
This article serves as a valuable resource for those seeking detailed information on flexible busbar types.

Two-Bend Offset (Z-Bend) Busbar Cutting Length Calculation
A Z-bend uses two equal bends in opposite directions to shift the bar sideways or vertically. For busbar offset bend calculation for LV panel installation, use: Total = Leg A + BA1 + Offset Straight + BA2 + Leg B. With 60 + 22 + 30 + 22 + 40, the cut length is 174 mm.
U-Bend (Double 90°) Copper Busbar Developed Length Calculation
A U-bend adds two 90° bend allowances between three straight legs. If Leg A = 50 mm, bridge = 40 mm, Leg B = 50 mm, and each bend allowance = 22 mm, the developed length is 50 + 22 + 40 + 22 + 50 = 184 mm.
Compound Busbar Bending Calculation for 45-Degree and 90-Degree Angles
For copper busbar bending calculation for 45 degree and 90-degree angles, keep the same formula and replace Angle = 45. Using the earlier 10 mm radius, 10 mm thickness, and K = 0.40 gives BA ≈ 11.0 mm for a 45° bend—about half the 90° value—while the diagonal straight leg must still come from panel geometry.
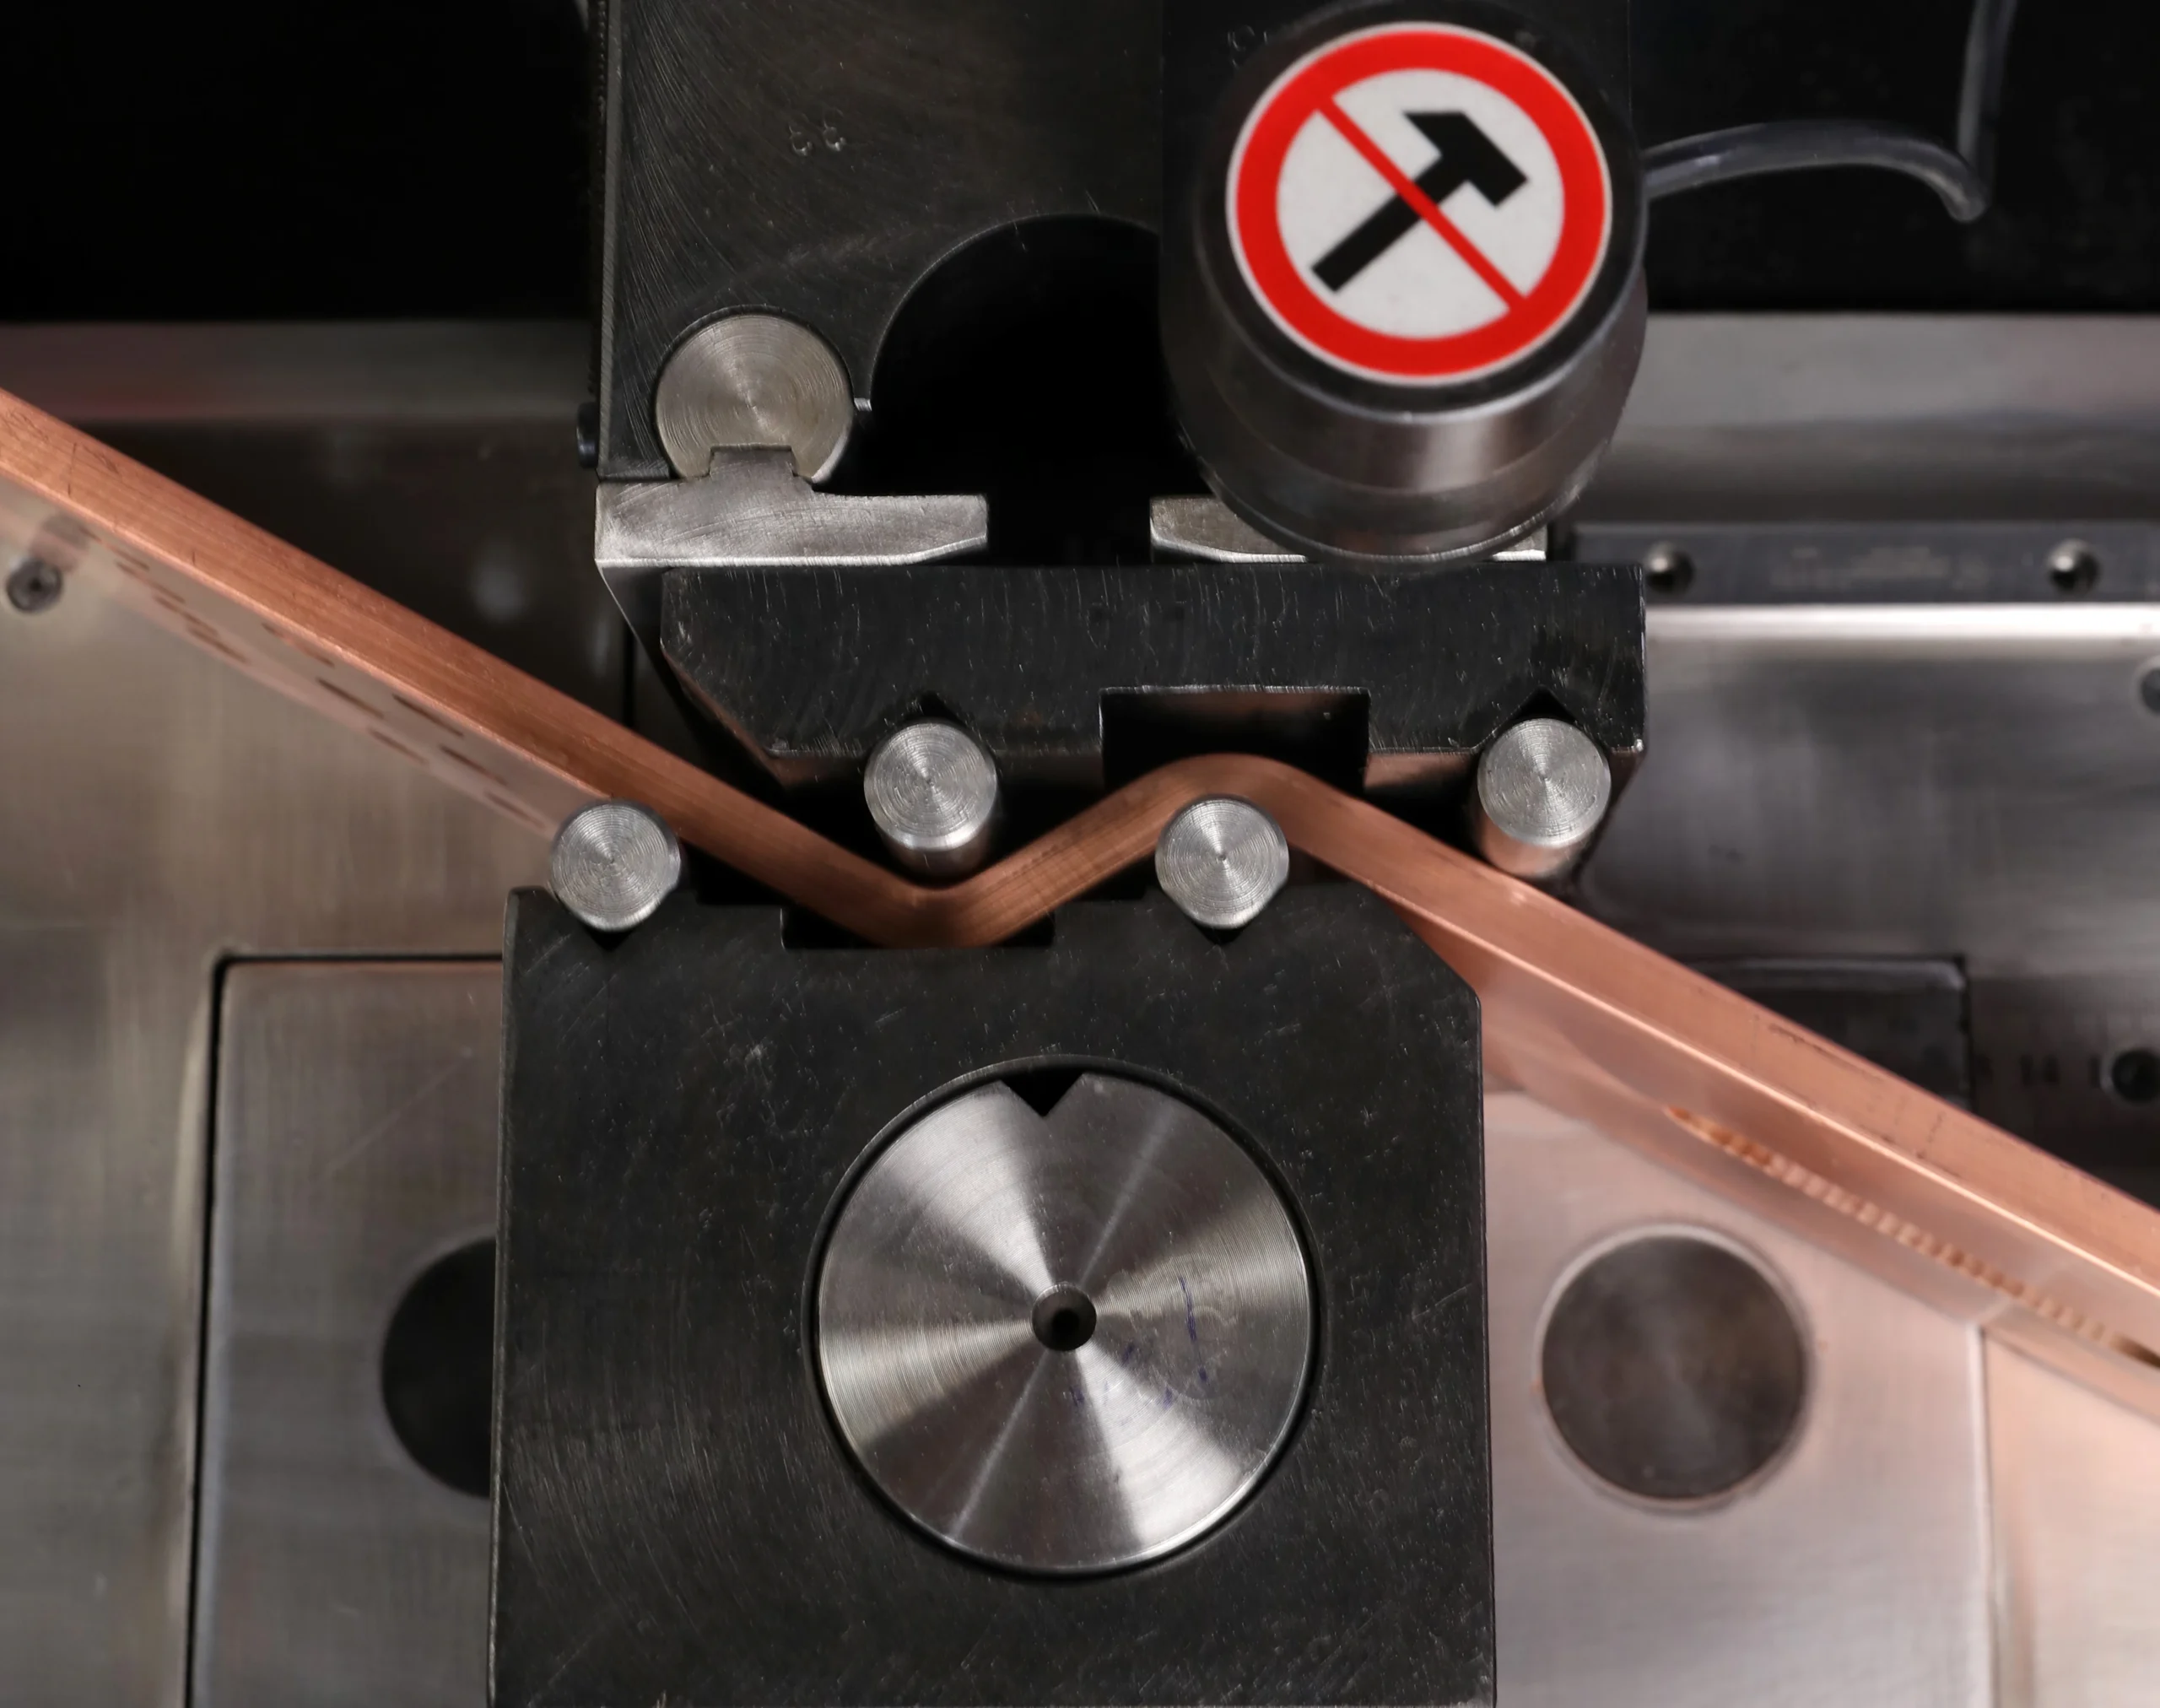
Minimum Bend Radius and Material Limits for Copper Busbars in Switchgear
Bend calculation is only useful inside the material limits of the copper bar. If the inside radius is too small, the outer face can craze or crack, reducing both mechanical quality and long-term current-carrying reliability.
The allowable radius depends on temper, thickness, and bending orientation. Soft annealed versus half-hard copper is one decision boundary; flat-wise versus edge-wise bending is another, because edge-wise bends need a much larger effective radius.
Selecting the right busbar fabrication machine can significantly reduce these production issues and improve repeatability across multiple projects.
In practice, designers should match the required radius to an available die set. Designing a theoretical 7 mm radius when the machine only has 5 mm or 10 mm tooling creates avoidable rework.
If you are looking for more information about ground bus bar, it is recommended not to miss reading this article.
The table below is a practical panel-shop guide for straight flat bars. Use it as a starting point, then validate on the actual copper temper and machine you will run.
| Bar Thickness, t (mm) | Soft Cu R220 Min. r (mm) | Half Hard Cu R290 Min. r (mm) |
|---|---|---|
| 5 | 2.5 | 5.0 |
| 6 | 3.0 | 6.0 |
| 8 | 4.0 | 8.0 |
| 10 | 5.0 | 10.0 |
| 12 | 6.0 | 12.0 |
| 15 | 7.5 | 15.0 |
Springback in Copper Busbar Bending: Causes and Compensation Methods
Springback is the elastic recovery that opens the bend slightly after load is released. In shop terms, a bar formed to a nominal 90° may relax to a slightly larger included angle unless the operator compensates.
The effect grows as material gets harder and as the radius-to-thickness ratio increases. That is why hard-drawn copper and large-radius bends usually need more overbend than soft copper and tighter bends.
There is no single universal formula that replaces trial work. Experienced fabricators use empirical tables by machine, die, and copper temper, then fine-tune with a sample bend before running production material.
A safe rule is to treat the table below as a starting overbend guide, not a standard. If dimensional accuracy is critical, test on scrap from the same batch first.
| Copper Condition | Practical Starting Overbend |
|---|---|
| Soft / annealed | 0.5°–1.5° |
| Half hard | 1°–3° |
| Hard drawn | 2°–4° |
Practical Copper Busbar Fabrication Tips for Accurate Cutting and Bending
Theory saves copper only when shop practice is disciplined. For everyday busbar fabrication calculation work, use this checklist before you cut stock.
- Mark bend tangent lines, not just bend centers.
- Verify the actual die radius before releasing drawings.
- Check machine force against bar width and thickness.
- Deburr cut ends before bending to reduce crack starters.
- Label orientation and circuit reference on every finished bar.
- Build a paper or cardboard template for parts with more than three bends.
Those six habits matter because they connect formula accuracy to real fabrication repeatability. They also reduce the usual mismatch between drawing intent, operator setup, and final fit inside the panel.
For a comprehensive understanding of distribution board types, we highly recommend reviewing this article.
Standards and References Governing Copper Busbar Fabrication
No single standard covers every part of busbar fabrication. In practice, fabricators combine material standards, dimensional standards, general tolerances, and assembly standards to control the finished result.
For copper bar material itself, EN 13601 is the most directly relevant modern reference because it specifies composition, electrical properties, and tolerances on dimensions and form for copper rod, bar, and wire for electrical purposes.
For switchgear sizes and long-used shop conventions, DIN 46433 remains a familiar reference. For fabricated dimensional tolerances, ISO 2768-1 is the common fallback. For the completed assembly, IEC 61439-1 governs construction and verification.
One correction matters: IEC 60228 is primarily a conductor standard for insulated cables, not a busbar-dimension standard. It is still useful when discussing copper conductivity and conductor-resistance terminology, but it does not replace EN 13601 or DIN 46433 for flat bars.
Further exploration of busbar system trends can be found in the following recommended reading.