









If you’d rather listen than read, feel free to play the audio file below for the rest of this article.
What Is DIN Rail and Why Does Cutting It Correctly Matter?
DIN rail is the standardized metal mounting strip that holds terminal blocks, circuit breakers, relays, and other modular components inside an electrical enclosure. The most common profile is TS-35 — a 35mm omega-shaped top hat rail defined by IEC 60715 — though TS-32 and G-rail variants still appear in older or specialty designs. Steel and aluminum are the dominant materials, with stainless steel reserved for corrosive environments.
A clean, square cut matters more than most newcomers realize. When the rail edge sits at an angle, components no longer align along the row, which throws off DIN-rail-mounted devices that depend on tight spacing. Furthermore, end caps refuse to seat properly, and grounding continuity along the rail can suffer.
First of all, to learn more and gain a better understanding, we recommend visiting the DIN Rail Cutter page.
Burrs are the second hidden enemy. They slice wire insulation during installation, create injury risk during handling, and look unprofessional in a finished panel. Therefore, every panel builder eventually has to learn how to cut DIN rail to a tight standard — and deburr it afterward — because the result pays off in reliability, safety, and the visual quality every inspector notices first.
Types of DIN Rail — Know What You Are Cutting Before You Start
Not every mounting rail looks or behaves the same, and choosing the wrong tool for the wrong profile wastes blades, rail stock, and time. Profile shape, width, and material decide which DIN rail cutting methods will deliver a clean edge. Before reaching for any tool, identify exactly what is sitting on the bench.
| Rail Type | Profile Shape | Width | Common Material | Typical Use |
|---|---|---|---|---|
| TS-35 (Top Hat) | Omega / Hat | 35 mm | Steel, Aluminum | Terminal blocks, circuit breakers |
| TS-32 | Symmetric | 32 mm | Steel | Older European panel designs |
| G-Rail | G-shaped | 32 mm | Steel | Heavier or legacy components |
| Shallow TS-35 | Omega / Hat | 35 mm | Aluminum | Lightweight enclosures |
Aluminum cuts noticeably faster than steel because it is softer and less dense; however, it demands a non-ferrous blade to prevent the teeth from loading up with swarf. Steel — the workhorse material — handles most cutting tools well with the right blade selection. Stainless steel, by contrast, is the toughest case: hard, abrasive, and heat-sensitive, which means slow feed rates and sharp cutters are essential for a clean cut on steel DIN rail. In short: match the blade to the metal first, then choose the cutting method that fits your volume.
For more detailed and comprehensive information about this rail-processing equipment, we highly recommend reading the dedicated article.
This source can help you verify the information and continue your independent research.
Choosing the Right Tool for the Job
Tool selection is rarely a one-size-fits-all decision. The right cutter depends on three practical factors: how many cuts you make per week, what equipment is already on the bench, and what material the rail is made from. A two-cut field repair calls for a very different solution than a panel shop turning out fifty enclosures a month.
For occasional work, a hacksaw and miter box deliver reliable results at almost no cost. For repeat production, however, a guillotine shear or cold saw quickly pays back its higher price in time saved, cleaner cuts, and reduced rework. Power tools sit in the middle: faster than hand tools but harder to control for squareness, and noisier and dirtier in a workshop environment.
For more detailed and comprehensive information about this Types of DIN Rail cutter, we highly recommend reading the dedicated article.
Each tool below is judged on cut quality, speed, learning curve, and where it fits best — from a single jobsite cut to a busy fabrication line. Use this comparison to decide which DIN rail cutter tool belongs in your kit.
| Tool | Best For | Cut Quality | Relative Cost |
|---|---|---|---|
| Hacksaw + miter box | Field repairs | Good | Low |
| Angle grinder | Stainless steel, last resort | Fair | Medium |
| Cold saw | Daily production | Excellent | High |
| Guillotine shear | Panel-shop default | Excellent | Medium |
| Vise + hacksaw | Budget shop work | Good | Low |
This website provides a helpful external reference for readers who want to go beyond the summary.
Hacksaw
The hacksaw is the most accessible option for one-off cuts in the field. Fit a bi-metal blade with 24 to 32 teeth per inch; finer teeth give a smoother cut face on thin-walled top hat rail. Also, use a miter box or cutting guide to hold the blade square, since freehand sawing wanders quickly. After the cut, deburr the edge with a file — every time. This combination is slow but precise, and it is the practical answer to how to cut DIN rail without a saw (a powered saw, that is).
For more detailed and comprehensive information about this types of rail-processing equipment, we highly recommend reading the dedicated article.
Angle Grinder with Cutting Disc
An angle grinder with a thin metal-cutting disc removes material fast — sometimes too fast. Sparks, heat, and burnt swarf travel far, which makes this tool a poor match for finished panels or nearby electronics. Cuts also tend to wander unless the rail is firmly clamped and the user has steady hands. So, can you cut DIN rail with an angle grinder? Yes, but treat it as a last-resort method for stainless steel or thick stock, and only when nothing better is available. Always wear full PPE.
For a clearer comparison of Manufacturer guidance on disc selection and safe operating practice for metal cutting, you can review the information provided on this website.
Cold Saw or Metal-Cutting Circular Saw
A cold saw — sometimes called a metal-cutting circular saw — is the production-shop workhorse. Its slow-speed, lubricated blade cuts cleanly with almost no heat, leaving a near burr-free face that needs only light dressing. Cuts come out dead square thanks to the integrated fence and clamp. The downside is cost: a quality cold saw runs into four figures. However, when daily cuts add up, the payback in cut quality and labor savings is straightforward. This is the tool of choice for high-volume panel shops fabricating dozens of enclosures every week.
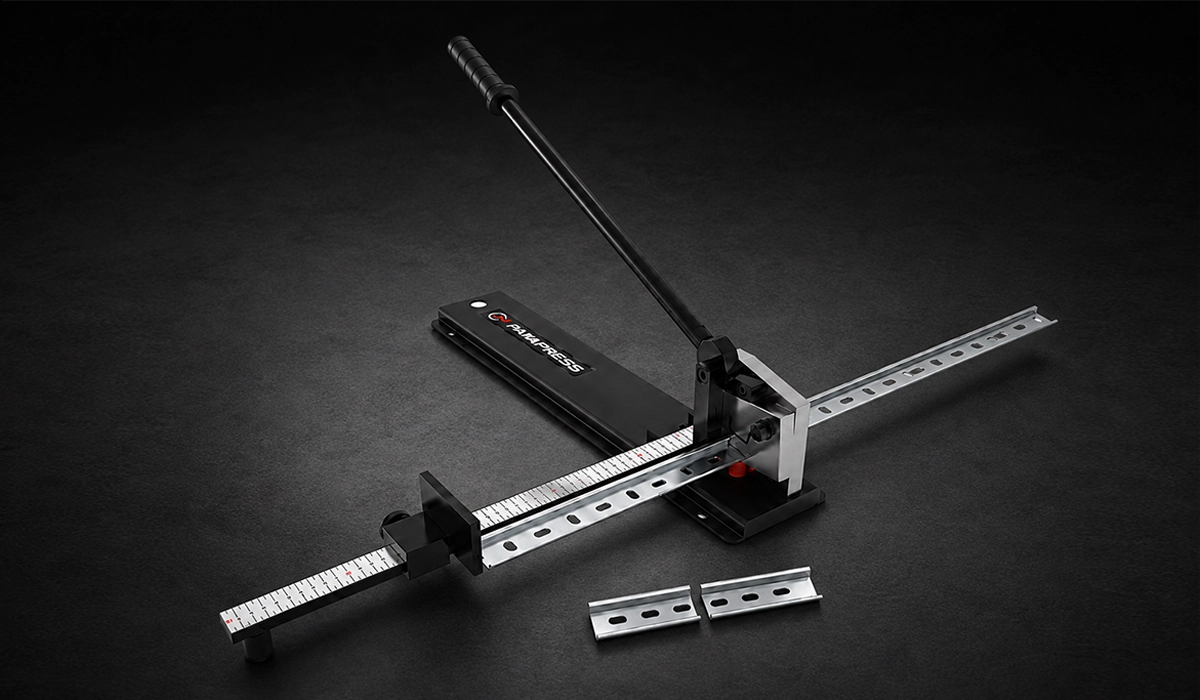
DIN Rail Guillotine Shear Cutter
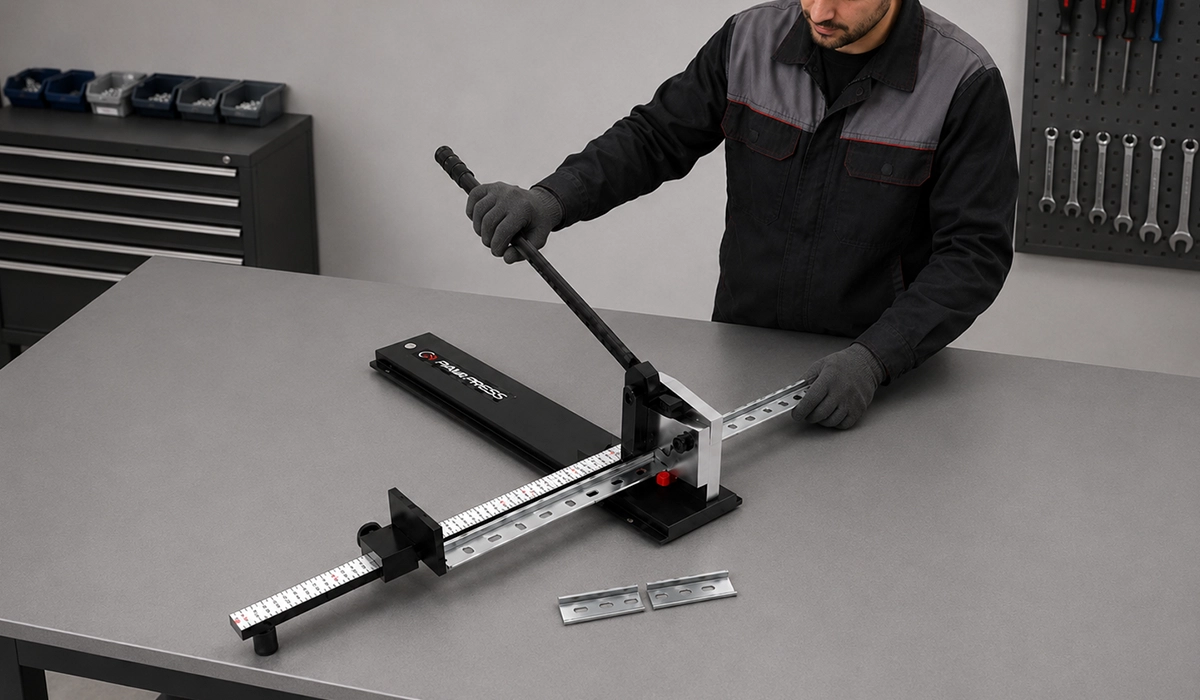
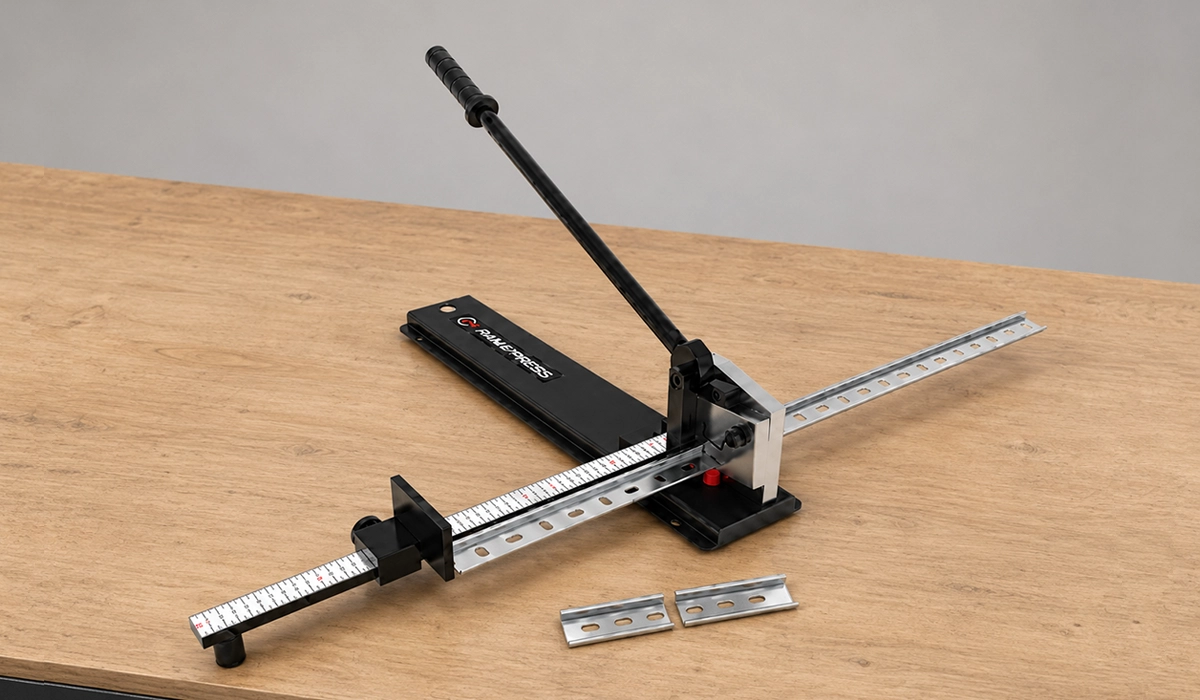
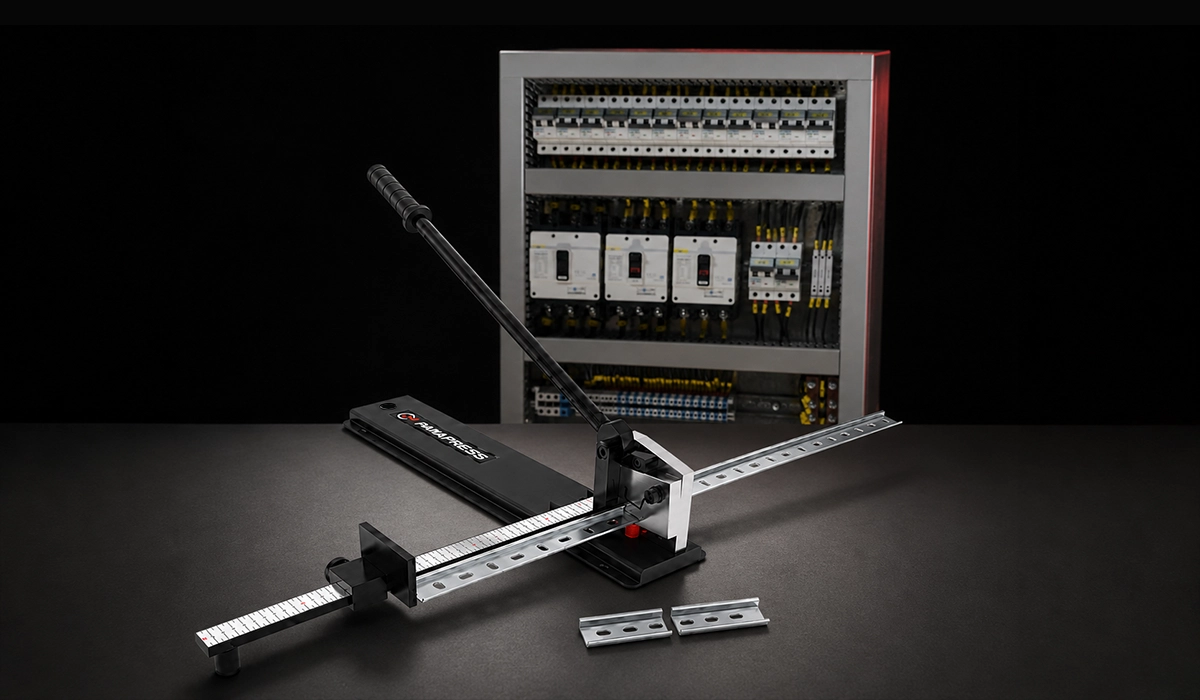
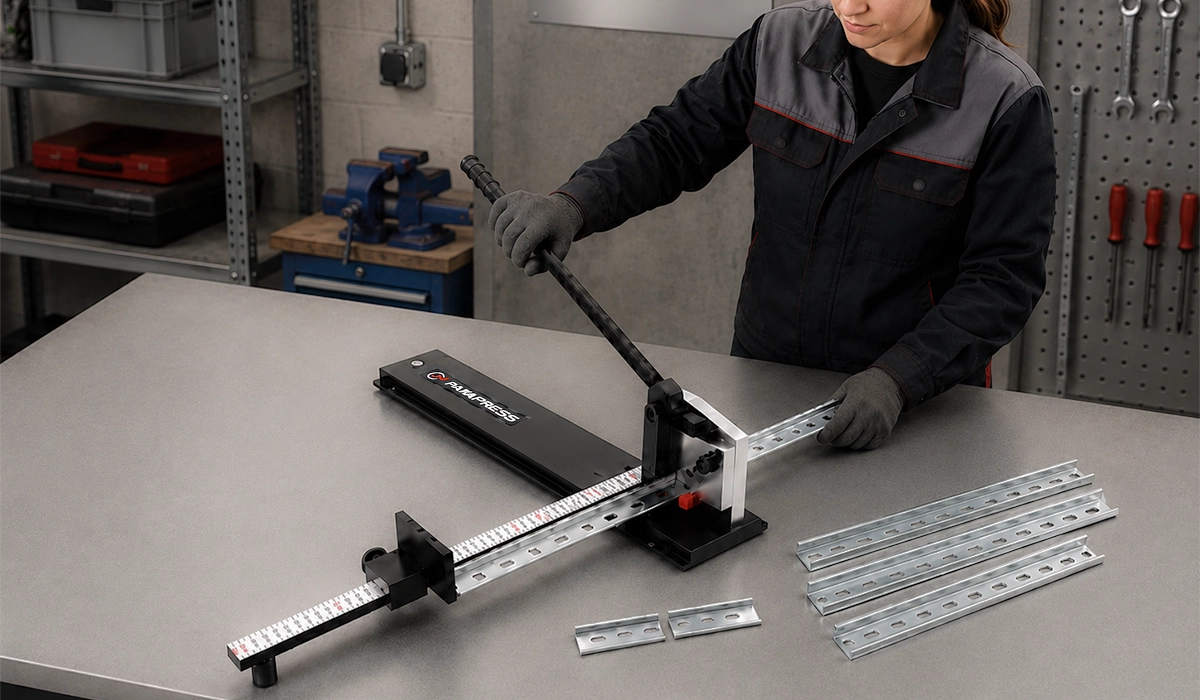
The DIN rail guillotine is the tool most professional panel builders reach for first. A single press of the lever shears the rail at a true 90 degrees — no sparks, no heat, and barely any burr to dress. Bench-mounted versions handle high volume; compact handheld shears suit jobsite cuts. When buying, check three things: profile compatibility (most are TS-35 specific), cutting force rating versus rail thickness, and whether the unit accepts both steel and aluminum. It is also widely considered the best tool to cut DIN rail.
Bench Vise with Hacksaw
A bench vise transforms an ordinary hacksaw into a much more accurate cutting setup. First, clamp the rail as close to the cut line as possible — within 25 mm if you can — to kill vibration and prevent blade chatter. Next, pair the vise with a small DIN rail cutting jig or guide, and the result rivals a miter box for squareness. This is a budget-friendly upgrade for anyone making more than the rare cut, and it neatly bridges the gap between basic hand tools and dedicated rail cutters.
If you are looking for more information about DIN Rail Standard Explained, it is recommended not to miss reading this article.
Step-by-Step — How to Cut DIN Rail Cleanly
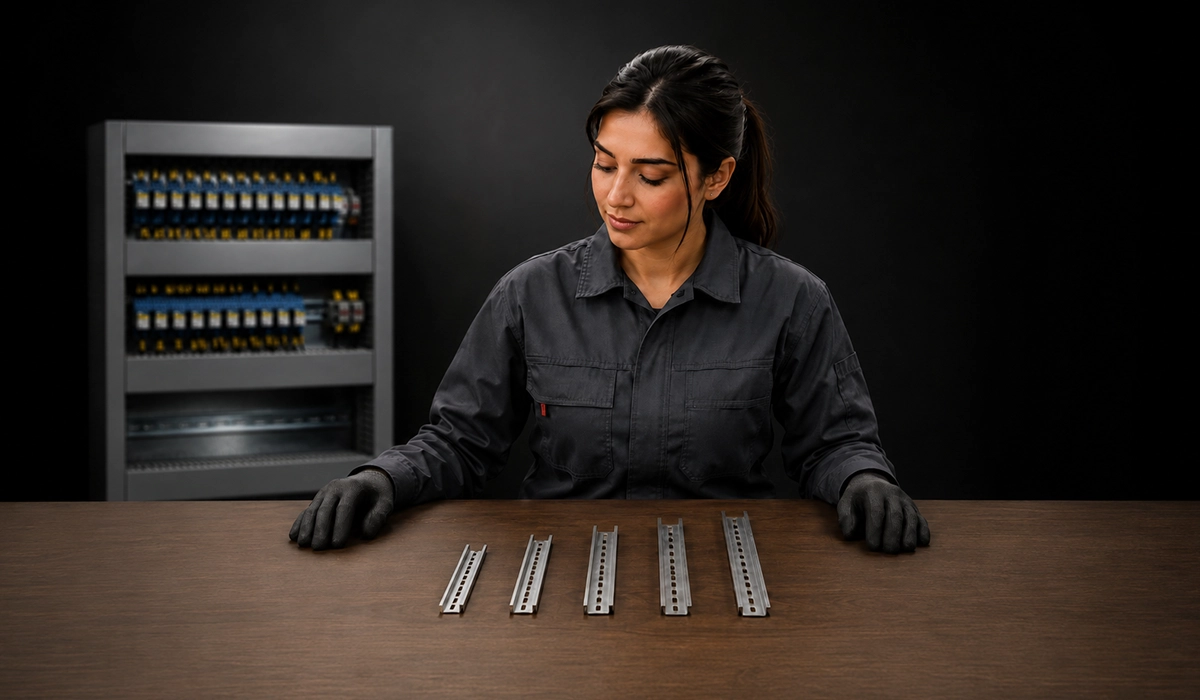
The right method is only half the story. Following a disciplined sequence — every time — is what produces consistently square, burr-free results. The procedure below answers how to cut DIN rail accurately for any panel, whether it is one rail in the field or twenty in the shop.
- Measure the required length with a steel rule, allowing for end caps or end stops where used.
- Mark the cut line clearly with a scribe or a fine permanent marker.
- Double-check the measurement before cutting — measure twice, cut once.
- Secure the rail firmly in a vise or guide so it cannot shift during the cut.
- Cut with your chosen tool, keeping the blade on the waste side of the mark.
- Inspect the cut face for squareness using a small engineer’s square.
- Deburr the edge with a flat file or a dedicated deburring tool.
- Smooth any sharp internal edges that could later snag wire insulation.
- Test-fit the rail in the enclosure before final mounting.
In short, this is also how to measure and cut DIN rail for control panel work that passes inspection on the first walkthrough.
Deburring and Finishing the Cut — A Step That Cannot Be Skipped
Deburring is not an optional finishing step — it is part of the cut. A burr is a thin curl of metal left along the edge wherever a blade exited the workpiece. Left in place, it is sharp enough to slice wire insulation during installation; moreover, over time vibration can drive it deeper, causing intermittent faults that are notoriously difficult to trace.
There is also the human factor. A sharp DIN rail edge can open a fingertip during routine handling. Consequently, most experienced panel builders treat how to deburr DIN rail after cutting as one continuous workflow with the cut itself, taking less than a minute per rail.
Three simple tools cover every situation:
- A flat metal file — universal, inexpensive, and effective on every rail material.
- A rotary or blade-style deburring hand tool — much faster when cuts repeat.
- Fine sandpaper around a flat block — gentle on softer aluminum top hat rail.
Finally, run a clean rag along the cut to remove filings before mounting any components.
Common Mistakes When Cutting DIN Rail
Most cutting errors trace back to the same handful of habits. Watching for the six pitfalls below eliminates the majority of rework — and keeps your rail stock from disappearing two millimeters at a time.
- Marking on the wrong side of the scribe line and losing 1–2 mm of usable length on every cut.
- Failing to secure the rail before cutting, which produces angled, wandering, or stepped cuts.
- Using a blade with too few teeth per inch, which tears thin-walled profiles instead of slicing them.
- Skipping the deburring pass and leaving sharp edges that injure hands or shred wire insulation.
- Cutting aluminum rail with a ferrous-metal blade, which clogs the teeth and leaves a rough, smeared edge.
- Forgetting to add end-cap thickness when calculating the final cut length.
Ultimately, avoiding these mistakes is the difference between a clean install and a panel that lands back on your bench.
Safety Precautions When Cutting Metal Rail
Cutting metal is one of those everyday workshop tasks that quietly causes injuries when discipline slips. Sharp edges, hot swarf, and unexpected blade contact all add up over the course of a busy day. The risks are easy to manage, but only when you treat every cut with the same routine.
Power tools deserve extra respect. An angle grinder kicks back firmly when the disc binds, and even a hacksaw can snap a blade under heavy force. Therefore, match the tool to the rail, secure the workpiece, and never improvise PPE.
Essential precautions:
- Wear cut-resistant gloves whenever handling freshly cut rail.
- Use safety glasses; metal filings travel unpredictably.
- Tie back loose clothing and keep fingers clear of the cut path.
- Fully clamp the workpiece before starting any power tool.
- Collect and dispose of swarf carefully — filings can puncture skin.
- Work in a ventilated area when using an angle grinder.
Conclusion about Cutting DIN Rail
Cutting DIN rail well is a small, learnable skill that punches well above its weight in panel quality. The right tool — matched to the material and the job volume — combined with a disciplined measure, clamp, cut, and deburr routine delivers professional results every time. Whether the choice is a hacksaw on a service van or a benchtop guillotine in a busy panel shop, the principles do not change: square the cut, knock down the burr, and check the fit before mounting components. Get those three things right and every enclosure you build will look — and perform — like the work of an experienced hand. Ultimately, knowing how to cut DIN rail to a professional standard is a foundational skill in every panel builder’s toolkit.


Rate this article
Choose a rating from 1 to 5 stars.
No ratings yet