






If you’d rather listen than read, feel free to play the audio file below for the rest of this article.
What Is a Dished Washer, and Why Does It Matter Here?
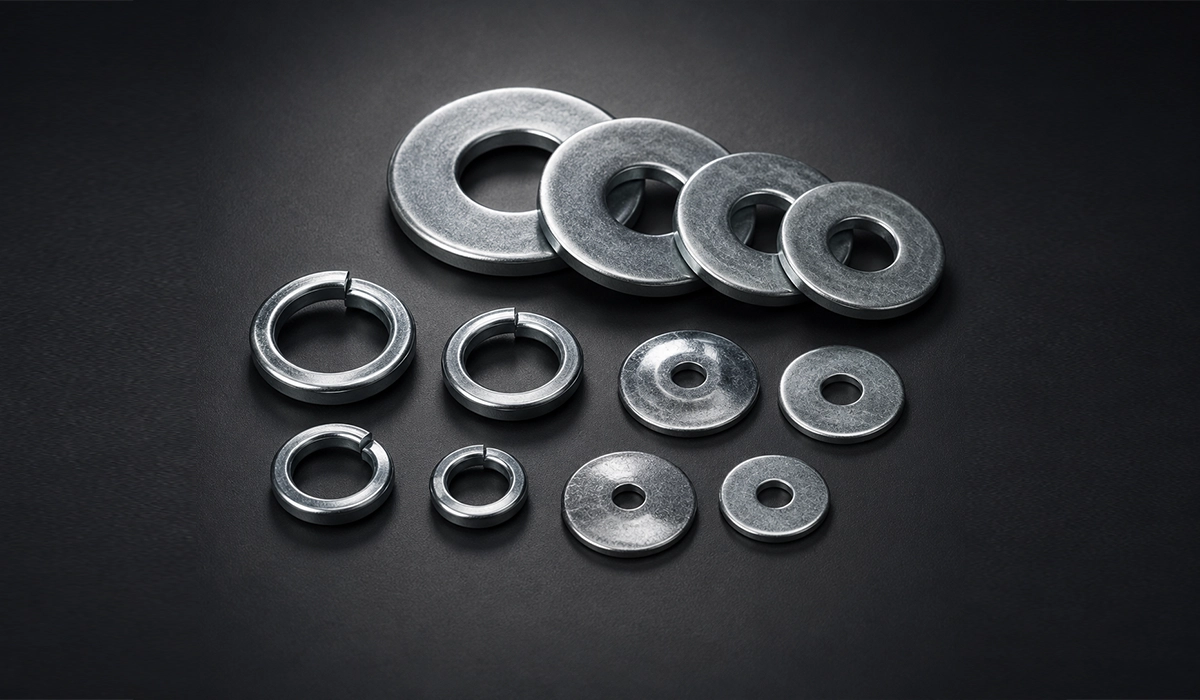
A dished washer is a cone, not a disc. From the side you see a shallow dish: one face is concave — the cup — and the other convex, the domed or crowned side. It is spring steel, and the cone is the whole point. This piece fits within our broader guide to busbar power distribution, which covers where hardware like this sits inside a wider system.
Under a tightening bolt, that cone flattens slightly and pushes back. It is a spring, not a spacer. A flat washer only spreads load; a split lock washer bites at one point. A dished washer stores elastic energy around a continuous circle and gives it back as the joint moves.
The component goes by several names. A Belleville washer busbar joint, a disc spring washer bus bar assembly and a conical spring washer busbar bolt all describe the same hardware. Any spring washer electrical connection works on this principle, and it is why two dished washers per busbar bolt earns the extra part number.
Understanding how these washers work is easier once you’re clear on what a busbar itself actually is. See our primer on what a busbar is for that foundation.
Why Busbar Bolts Loosen Over Time
A busbar joint is not static. Current heats the bars, the bars expand, the current drops and they contract again. The steel bolt clamping them does not move by the same amount, and that mismatch repeats on every load cycle for the life of the panel.
Two separate mechanisms then erode clamping force. Creep is slow plastic deformation of the conductor under sustained pressure. Stress relaxation reduces bolt tension without any dimensional change at all. CDA lists both among the degradation mechanisms that end a connector’s life, alongside fretting and oxidation.
Ask why use a spring washer on a busbar and this is the answer. A flat washer cannot give and cannot return, so every micron the joint relaxes is clamping force lost permanently. The dished washer vs flat washer busbar comparison comes down to that one property.
That loss matters because contact pressure and contact resistance are directly linked. As pressure falls, resistance rises. Higher resistance means more I²R heating at the interface, more heat means more expansion and faster oxidation, and both push clamping force down further. The loop is self-reinforcing, which is why understanding busbar joint thermal expansion is the whole argument for a spring under the bolt.
Thermal Expansion and Creep in Copper and Aluminum
The numbers explain why spring washers became standard on aluminium first. Aluminium expands at roughly 23 × 10⁻⁶ per K, copper at about 17 × 10⁻⁶, and high-tensile steel at about 11 × 10⁻⁶. Aluminium therefore moves more than twice as much as the bolt holding it.
Creep compounds it. Aluminium creeps measurably at ordinary ambient temperatures under load; copper needs about 150 °C to creep at a comparable rate. An aluminum busbar bolted connection washer is not optional in most specifications. Copper-to-copper joints with steel bolts are more forgiving, but still benefit under heavy load cycling.
The supporting figures and evidence are presented in this published report.
Contact Resistance and Hot Spots
A loosening joint does not fail suddenly. It develops a hot spot months or years before anything visible happens, and CDA notes that no deterioration is noticeable until the final stages of connector life.
Thermal imaging is how the industry finds them. Compare joint temperature against nearby bar under similar load; a widening differential is the early warning. Current maintenance practice increasingly favours thermographic survey with repairs triggered by findings, rather than re-torquing every connection on a calendar. A dished washer does not remove the need for that survey — it just buys a great deal more time before the survey finds anything.
None of this matters if the busbar itself was never sized to handle the mechanical and thermal stresses in the first place. Our guide to short-circuit withstand covers that requirement.
Why Two Washers Instead of One
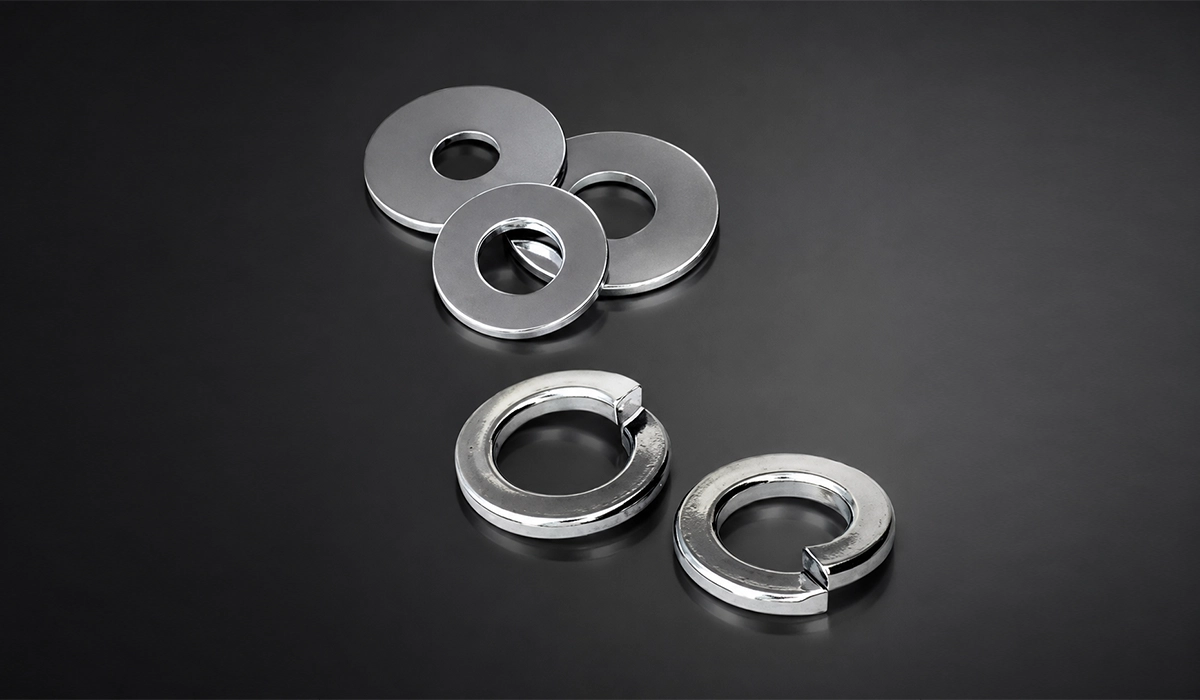
Here is the direct answer. A bolted busbar joint has relaxation potential at both faces of the sandwich, under the bolt head and under the nut. Put a spring at only one end and it has to compensate for movement occurring at both, which is more than one washer’s travel was designed to cover.
Two dished washers per busbar bolt gives each end of the clamp its own spring. Each absorbs the relaxation and thermal cycling happening at its own face, independently. Neither is doing the other’s work.
This matters most where the stack is thickest or softest. A lug plus busbar plus a second lug has three interfaces that can settle, and a soft aluminium bar embeds more under the washer bearing area than copper does. The thicker the sandwich, the more total relaxation there is to absorb, and the less sense it makes to ask one spring to absorb all of it.
EC&M states the practice plainly. A split-ring washer normally belongs only at the nut end. Belleville washers can be used in tandem: one at the nut, one at the bolt head. That is a common way to use them when assembling busbar. Switchgear OEMs reflect the same thinking. ABB’s public installation documentation specifies matched bolt, washer and torque combinations at busbar terminations rather than leaving washer choice to the installer.
The point worth holding onto: two Belleville washers on a busbar bolt is a documented convention, not a belt-and-braces habit.
If you want a broader picture of how this fits into the wider context, this useful reference is a good next step.
One at the Bolt Head, One at the Nut
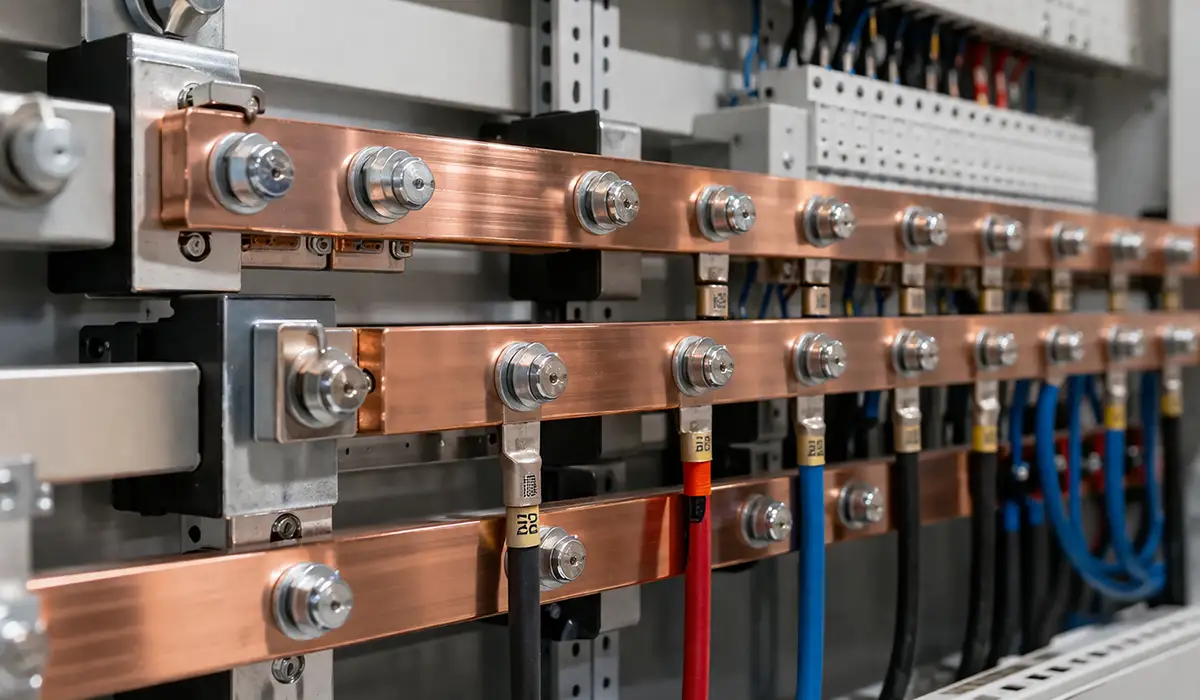
The stack order is simple to state. Bolt head → dished washer → busbar and lug stack → dished washer → nut. The two washers mirror each other, each oriented for the face it works against.
Flat washers on the outside of each dished washer are common, spreading bearing load into a soft bar. Treat that as an option rather than a requirement, and use hardened flat washers so the dished washer cannot embed into them. Never put an oversized flat washer underneath a dished washer to fill a gap — it simply deflects away instead of transmitting force.
When a Single Washer Is Enough
So do you need a Belleville washer on both sides of a bolt every time? Not necessarily, and most forum threads over-generalise here. Where fastener and conductor are closely matched metals, differential expansion is small. A bronze bolt on a bronze pad is the classic case, and a single spring washer can be adequate there.
Solon, a Belleville manufacturer, notes that nut side or bolt-head side makes no difference to performance, and recommends whichever is easier to access. So how many Belleville washers per bolt is a design decision, not a rule. Two suits mixed metals and heavy cycling; one can suit matched metals and steady load.
The same logic about matched interfaces applies directly to how a lug or terminal connects into the stack. See our guide to terminal bus bars for that side of the joint.
How to Install Dished Washers Correctly
Choosing the washer is the easy part. Three installation details decide whether it does anything useful, and all three are routinely got wrong in the field.
Start with diameter. A dished washer generates its clamping force along the rim of its cup, so that rim has to land on the connection pad. If the washer overhangs the pad, the force goes somewhere other than the joint, and you have far less clamping than the torque figure suggests. Except in special cases, there is no point fitting a washer whose outer diameter exceeds the pad it sits on.
Then check the joint faces. Both surfaces need to be clean, flat and free of debris before assembly. A dished washer cannot compensate for a bar that is not sitting flat to begin with.
Third, verify by feel on the first joints of a run. Fit a torque wrench to the first bolt or two. Watch for the point where the washer’s resistance changes character as it approaches flat; the change is abrupt and unmistakable. Once you can see the washers deforming correctly at the specified torque, the rest of the run can follow the same setting with confidence.
Orientation and tightening sequence are the two remaining details, and both are covered below. Neither takes longer to do correctly than incorrectly, which is what makes the field error rate on them frustrating.
Orientation — Which Way the Cone Faces
Published sources disagree here, so take the majority position with its reasoning attached.
EC&M’s guidance is that the cup — the concave face — points toward the connection, away from the bolt head or nut. The convex crown faces the nut. The mechanism confirms it: the cup rim is what bears on the busbar pad.
A minority of manufacturers publish the opposite convention, so follow the supplier’s own instruction where one exists. Belleville washer orientation busbar connection errors are common enough that EC&M calls the number of reversed washers in service staggering.
If you cannot tell which face is which, lay the washer on a flat surface and look from the side.
For readers who need only the essential points, this short introduction is enough to get started.
Torque Sequence for Multi-Bolt Joints
Never take one bolt from zero to full torque before starting the next. On a multi-bolt joint that tilts the stack, loads the first washer unevenly, and leaves the last bolt fighting a joint that has already set crooked.
Work a star or cross pattern in stages instead. On a four-bolt joint, tighten upper-left, then lower-right, then lower-left, then upper-right — and repeat the circuit at roughly 50%, then 75%, then full specified torque. EC&M gives a worked example at 30, 45 and 55 ft-lb for a 55 ft-lb joint. More stages do no harm.
Correct installation only pays off once the washer sits inside a properly designed panel layout. Our overview of busbars in electrical panels covers that context.
Torque and Sizing Reference
Two facts govern this table. DIN 6796 washer busbar dimensions are unambiguous. Copper busbar bolt torque is not. Published sources disagree by a factor of two or more, so the column below draws on one traceable source: CDA Publication 22, Table 22.
| Bolt size | Washer outer dia. (DIN 6796) | Free height h (DIN 6796) | Copper busbar torque (CDA Table 22) | Aluminium busbar torque |
|---|---|---|---|---|
| M6 | 14.0 mm | 1.7–2.0 mm | 7.2 Nm | Per connector manufacturer |
| M8 | 18.0 mm | 2.24–2.6 mm | 17 Nm | Per connector manufacturer |
| M10 | 23.0 mm | 2.8–3.2 mm | 28 Nm | Per connector manufacturer |
| M12 | 29.0 mm | 3.43–3.95 mm | 45 Nm | Per connector manufacturer |
The aluminium column is deliberately blank of figures. Published aluminium-versus-copper ratios run from roughly 15% lower to several times different depending on the source, and no single number survives cross-checking. Take that figure from the connector manufacturer.
The same caution applies to copper. A busbar bolt torque table is a design check, never an instruction, and manufacturer or standard-specific tables take precedence every time. Match the washer to the bolt’s torque rather than looking for a washer-specific figure. Our full busbar bolt torque reference covers where those figures come from.
Common Mistakes That Cause Joint Failure
Four failure modes account for most bad joints, and busbar bolted joint best practices exist largely to prevent them. None is exotic.
Over-compressing the washer. Flatten a dished washer completely and you have removed the travel it needed. EC&M’s field guidance is to compress to about 80% of free height, leaving room for expansion and contraction. Note that other guidance — including DIN 6796’s own design basis — treats flattening as the intended condition, so follow the washer manufacturer’s spec rather than a general rule.
Mixed metals without a transition. Copper bolted directly to aluminium sets up a galvanic cell, and moisture completes it. Use a bimetallic transition washer or plated hardware. The joint may look sound for a year and then deteriorate quickly once corrosion reaches the contact area.
Skipping surface prep. Aluminium oxide forms in microseconds and insulates. Clean both faces to bright metal and apply joint compound before assembly. Copper oxide is more forgiving, because it still conducts under compression, but remove it too.
Treating the washer as a substitute for torque. It is an addition. The washer accommodates movement; it does not create the initial clamping force. Getting busbar bolt torque right comes first, and the washer preserves it.
Standards and Compliance Notes
Three documents matter here, and each covers something different.
DIN 6796 governs conical spring washers for bolted connections. It fixes dimensions from M3 to M36, tolerances, materials and heat treatment. Usefully, it also calibrates the washer to the bolt: a DIN 6796 washer’s maximum force corresponds to roughly 70–90% of the clamping force of a class 8.8 or 10.9 bolt. It is intended for static loads in bolted joints.
DIN 2093 covers disc springs more broadly, including dynamic loading and the stacked arrangements used when a specific spring rate or deflection is required. Reach for it when washers are being stacked with engineering intent.
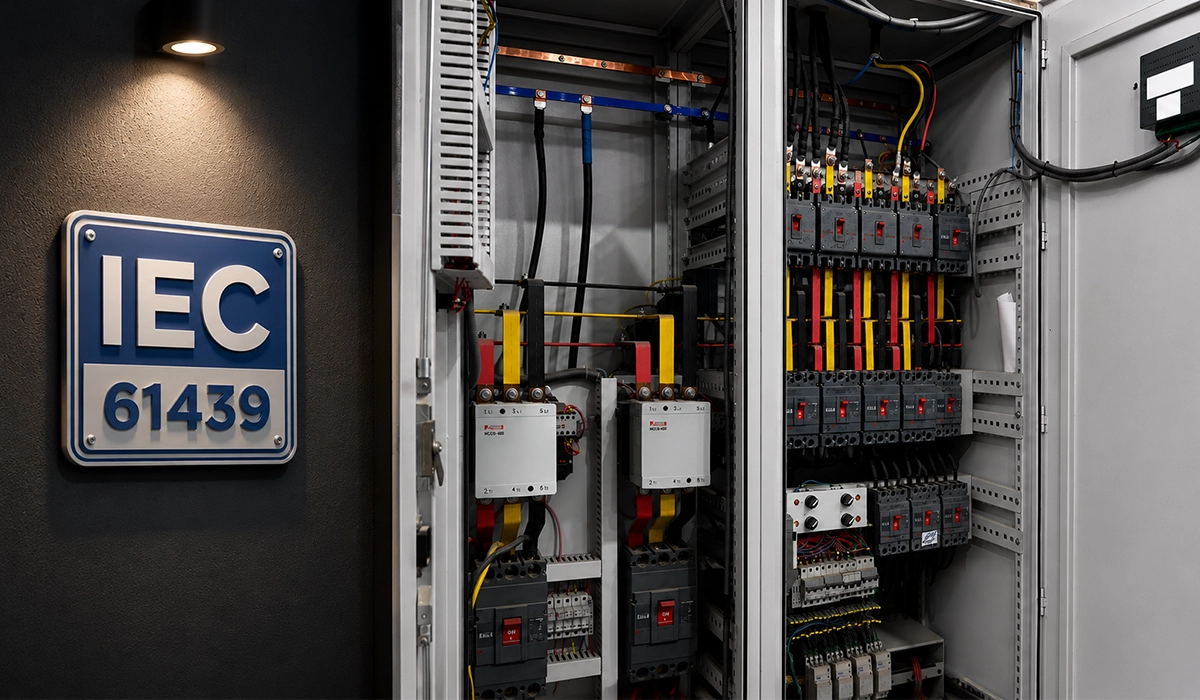
IEC 61439-1 governs low-voltage switchgear and controlgear assemblies. It does not specify a washer or a torque. What it sets is the temperature-rise and verification framework that a busbar joint has to satisfy inside enclosed equipment, which is the test any washer choice ultimately has to pass.
IEC 61439-1 is only one piece of the compliance picture for LV assemblies using busbars. Our LV panel busbar selection guide fills in the rest.
How Busbar Fabrication Quality Affects Washer Performance
A dished washer only works if the surfaces it clamps are flat and the hole beneath it is clean. That makes joint quality partly a fabrication question, and it is the part nobody writing about washers mentions.
A dished washer bears on a narrow annular rim. If the punched hole is oversized or ragged, that rim has less material to land on. The washer’s inner edge can then bow into the clearance gap instead of seating evenly, and spring force drops without anything looking wrong. Worn punch and die tooling makes it worse. Burr height rises as tools dull, and a raised burr on the exit face holds the two bars apart exactly where they should be in contact.
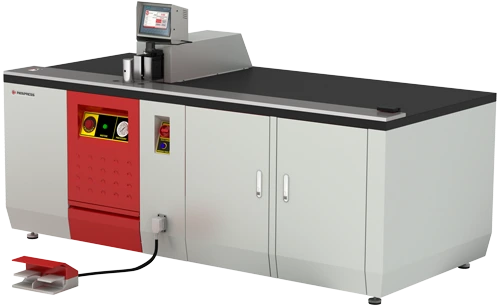
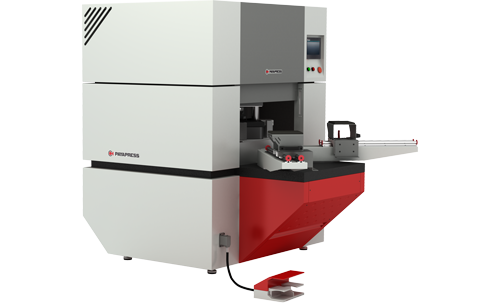
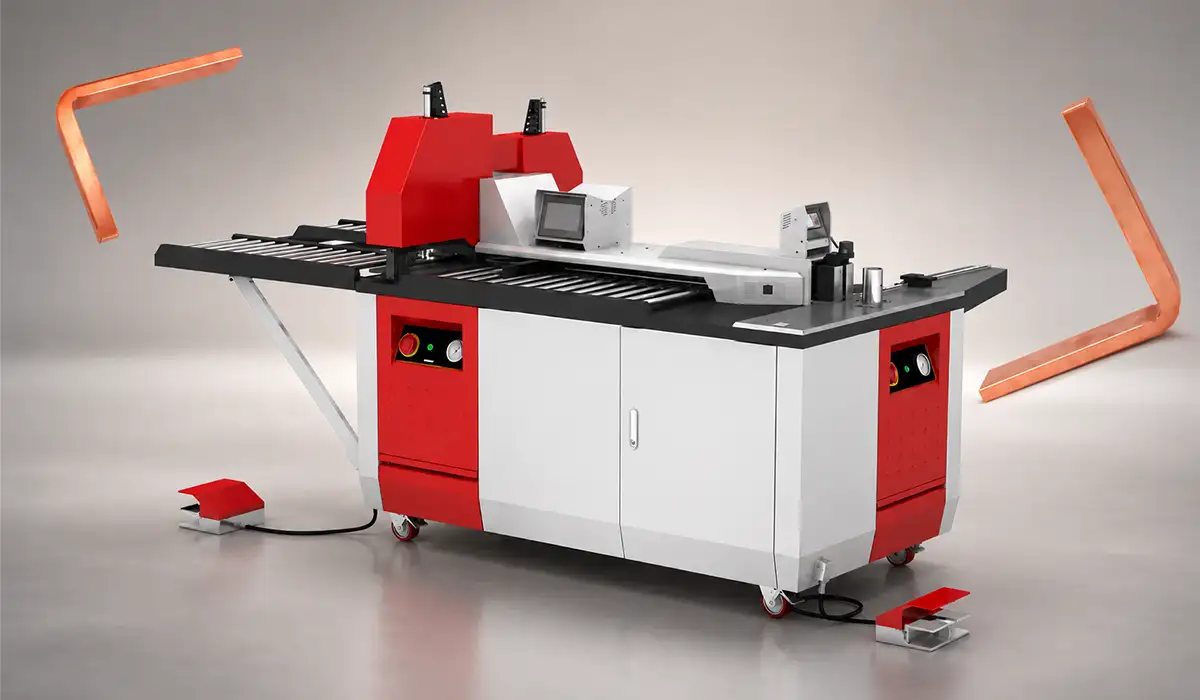
Flatness matters equally. A bar dished or twisted from forming will not present a true bearing face. Consistent hole tolerance and clean edges from precision busbar punching let a washer deliver the preload it was specified for.
Conclusion Use Two Dished Washers Per Busbar
Two dished washers per busbar bolt exist for one reason. A bolted joint can relax at both ends of the clamp, so each end deserves its own spring to absorb thermal cycling and creep. That is the mechanism, and it is why the practice is documented rather than folklore.
But the washer is only as good as the installation around it. Correct orientation, staged torque in a cross pattern, and a clean flat joint face matter as much as the choice of washer itself.
This kind of documented convention is exactly what separates a compliant assembly from a guess. Our overview of busbar standards covers the wider rulebook.



Rate this article
Choose a rating from 1 to 5 stars.
No ratings yet