



If you’d rather listen than read, feel free to play the audio file below for the rest of this article.
What Is a Cable Lug?
What is a cable lug? A cable lug is a connector that is crimped or clamped onto the end of a cable and then bolted to a terminal or busbar. It turns a flexible stranded conductor into a solid, bolted contact.
Every lug has three parts:
- Barrel: the tube that takes the stripped conductor.
- Tongue: the flat pad that sits on the terminal or busbar.
- Hole: one or two holes in the tongue for the stud or bolt.
What are cable lugs also called? Common names include terminal lug, cable terminal and cable end; small sizes are ring terminals. Lugs sit among the core industrial electrical panel components in every switchboard.
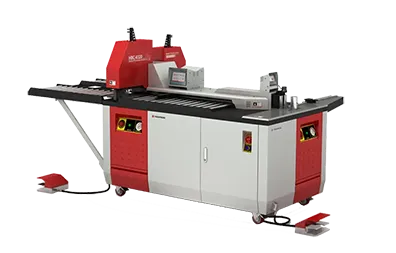
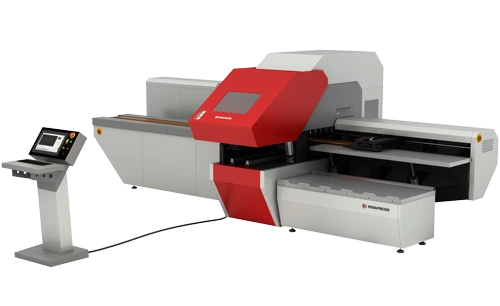
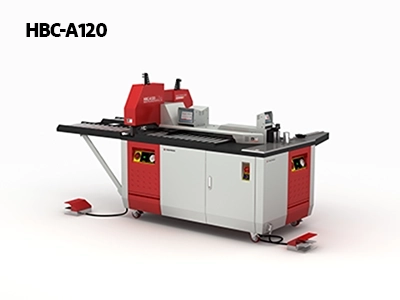
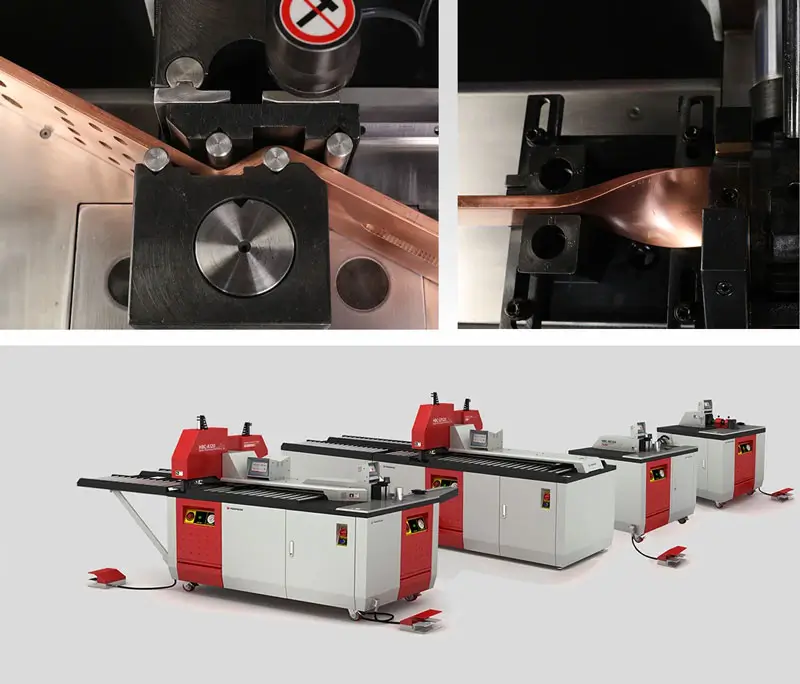
The HBC-CP120 machine processes copper and aluminum busbars up to 120 × 12 mm using two dedicated hydraulic stations. Its simultaneous cutting and punching capabilities help electrical panel manufacturers improve production efficiency.
Types of Cable Lugs
What are the types of cable lugs? Most fall into three groups, set by how they attach and what they connect.
| Type | How it attaches | Best for |
|---|---|---|
| Compression or mechanical | Crimped barrel or set screw | Permanent vs field-adjustable joints |
| One-hole or two-hole | One or two bolts | Light loads vs anti-rotation on busbar |
| Copper, tin-plated or bimetallic | Material and plating | Copper, humid or aluminum connections |
Cable lugs are one of many parts that make up a complete assembly. To see where they fit in the bigger picture, start with the switchgear basics guide.
Compression vs Mechanical Lugs
What are the two main types of lugs? The two main types are compression lugs, which are crimped onto the cable, and mechanical lugs, which clamp the conductor with a set screw.
In the compression lug vs mechanical lug choice, compression wins on reliability. A correct crimp cold-forms the barrel around the strands, so the joint resists vibration and thermal cycling. However, crimp lugs need the right tool and die, and you cannot reuse them after a re-termination.
A mechanical (set-screw) lug, by contrast, needs only a wrench. It suits field work, quick changes and sites where crews must re-terminate cables. Still, set screws can loosen as copper creeps or as vibration works on the joint, so they need torque checks during maintenance.
In short, compression vs mechanical comes down to permanence vs flexibility. For busbar joints in switchboards and panels, most builders choose compression lugs.
Lug choice also depends on the conductor it terminates. If you are still selecting cable, read about the industrial wire selection before choosing a lug type.
One-Hole vs Two-Hole (NEMA) Lugs
A one-hole lug uses a single bolt. It is quick to fit, but a torque wrench or a pulled cable can rotate it on the stud, and rotation loosens the joint.
Double hole cable lugs solve that problem. In the one-hole vs two-hole comparison, a two-hole lug cannot turn, and two bolts spread the clamp force across a wider contact area. That is why two-hole lugs are common on busbar, especially on main feeders and large cables.
The standard NEMA two hole lug spacing for many larger sizes is 1/2 in studs on 1-3/4 in centers. Smaller lugs use smaller studs and closer spacing, so check the lug catalog for each size before you punch the bar. A wrong pattern means a scrapped bar or a forced fit.
International test standards treat compression and mechanical connectors as two separate families with their own tests. The IEC catalogue page lists the test methods and conductor sizes for both connector types in its IEC 61238-1-1 listing.
Copper, Tin-Plated and Bimetallic Lugs
A bare copper cable lug gives the best conductivity at the lowest cost, but its surface oxidizes. Tin-plated copper resists corrosion and keeps a clean contact face, so it suits humid sites and most panels.
Tin plated copper lugs for aluminum busbar avoid direct copper-to-aluminum contact, because the tin sits between the two metals. Where an aluminum cable must land on a copper bar, use a bimetallic lug with an aluminum barrel and a copper tongue. Copper vs aluminum contact without that barrier invites galvanic corrosion. For the bar itself, see our copper busbar guide.
Battery cable lugs follow one extra rule: they use fine, flexible stranding, so choose lugs rated for that stranding class.
Welding cable lugs need the same care, since welding leads use even finer strands.
Lugs land on bars inside enclosures, and those parts must work together. Learn about the other switchgear components that share the same panel.
Cable Lug Sizes: Reading AWG, kcmil, mm² and Stud Size
Every lug carries two size numbers, and cable lug sizes must match both. The conductor size, in AWG, kcmil or mm², sets the barrel, while the stud size sets the tongue hole.
| AWG / kcmil | Area (mm², computed) | Nearest metric size | Common stud sizes (typical) |
|---|---|---|---|
| 6 AWG | 13.3 | 16 mm² | 1/4–3/8 in |
| 2 AWG | 33.6 | 35 mm² | 1/4–1/2 in |
| 1/0 AWG | 53.5 | 50 mm² | 5/16–1/2 in |
| 4/0 AWG | 107.2 | 120 mm² | 3/8–1/2 in |
| 250 kcmil | 126.7 | 120 mm² | 1/2 in |
| 500 kcmil | 253.4 | 240 mm² | 1/2–5/8 in |
Use this cable lug size chart as a guide only, and confirm stud sizes in the lug catalog. Also match the lug to the conductor class, because flexible cable has more, finer strands than standard building wire.
AWG areas come from a fixed standard, so mm² conversions are exact. ASTM’s wire size standard defines the nominal diameters and areas of AWG sizes in its AWG size specification.
Correct sizing starts with knowing the equipment you are connecting to. For a clear overview, read what is a panel and how its incoming and outgoing cables are arranged.
Crimp Dies and Tools
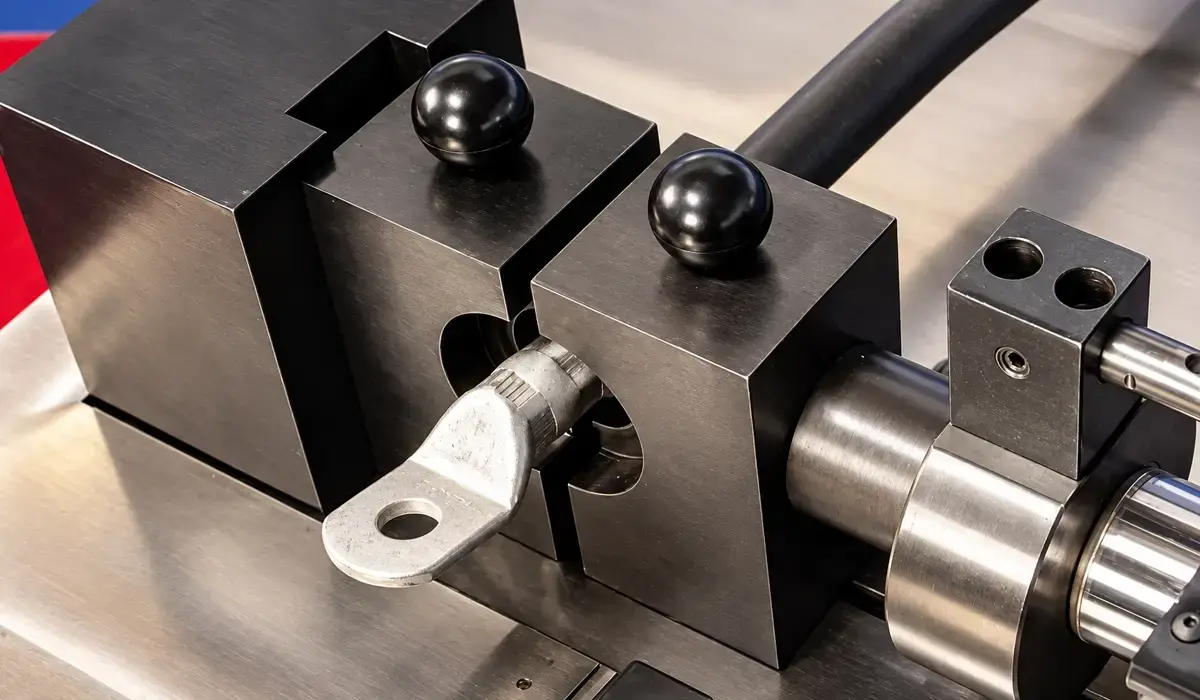
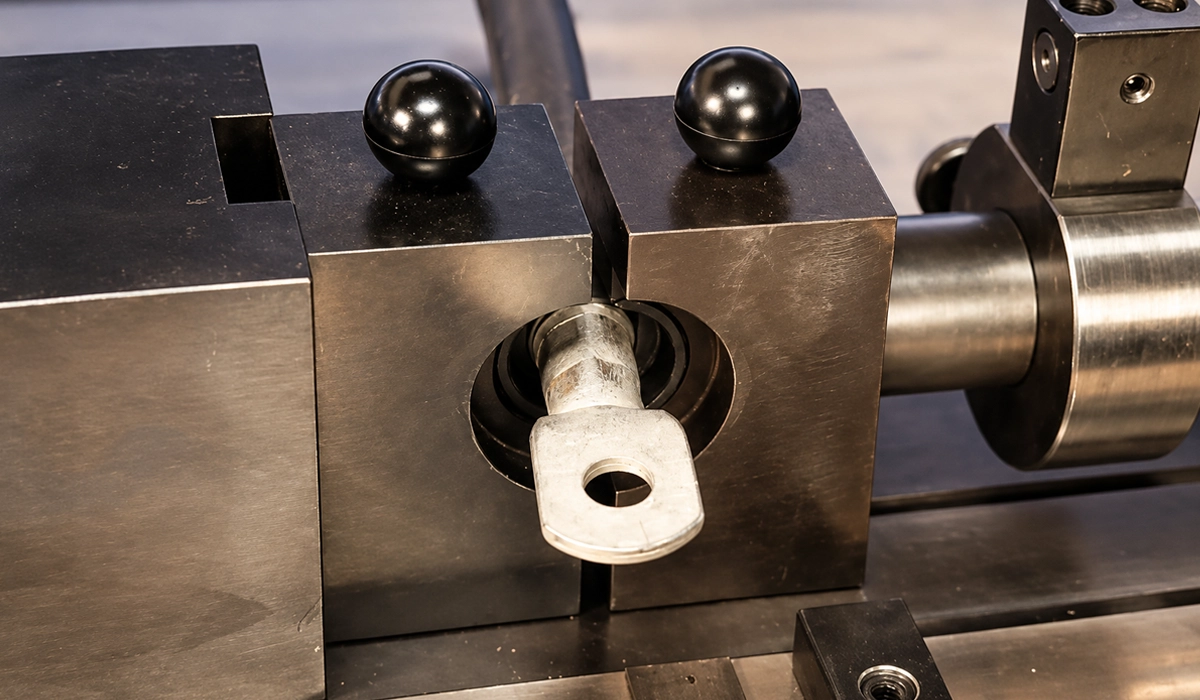
A compression lug, its die and its cable lug crimping tool are tested together as a system. Mixing a lug from one maker with a die or lug crimper from another can void the listing, because the crimp may not reach the tested depth. Therefore, follow the lug maker’s tool and die list for every size, and keep that list at the crimping station.
The NEC requires listed equipment to be installed per its listing and instructions. Mike Holt explains that rule and why poor terminations cause failures in his NEC general requirements.
Die Index and Color Codes
Most compression lugs carry a die index number and a color band stamped on the barrel. Both point to one specific die for that lug size. The matching die shows the same number and color, so the crew can check the pair at a glance.
So, how to choose the right crimp die? Read the die index on the lug, then pick the die with the same index from the manufacturer’s chart. Do not judge by size alone, because two dies for the same cable size can differ by lug type.
After crimping, many dies emboss the index number into the barrel. That mark lets an inspector confirm the right die later, even after the panel is closed up.
Hydraulic vs Mechanical Crimpers
A mechanical (hand) cable lug crimper works well for small and mid sizes, typically up to about 2/0 AWG, depending on the tool. Above that, the force needed grows quickly. In the hydraulic vs hand choice, a hydraulic crimper wins for large kcmil cable, because it delivers a full, repeatable crimp with little effort.
Crimp shape matters too. Hex vs indent crimps differ in how they form the barrel: a hex die compresses the barrel evenly on all sides, while an indent die presses a single deep dimple. Use whichever shape the lug maker lists for that size.
How to Verify a Good Crimp
How do you crimp a cable lug correctly? Follow and check these steps:
- Strip the insulation to the barrel depth, without nicking strands.
- Insert the conductor fully, until it shows in the inspection window.
- Make the number of crimps the lug maker specifies, starting near the tongue.
- Check that the die index mark is visible on each crimp.
- Pull-test a sample lug at the start of each shift.
A good crimp shows no loose strands, no cracks in the barrel and no gap at the inspection window. If any check fails, cut off the lug and start again with a fresh one. Never recrimp the same barrel, because the copper has already work-hardened.
Crimped cables eventually connect to protective devices in the panel. Browse the circuit breaker finder to match lug and breaker terminal ratings.
Bolting a Lug to a Busbar
Half of every lug joint is the busbar itself: the hole, the contact surface and the hardware. So, how to bolt a cable lug to a busbar? Start with a correct hole, then a clean surface, then the right hardware and torque. Skip any one of these, and even a perfect crimp will run hot. The two sections below cover each step in order.
Bolted copper joints fail most often at the contact surface, not in the bolt. The Copper Alliance covers joint design, surface preparation and coatings in its busbar jointing guide.
Hole Size, Spacing and Surface Prep
Punch or drill the busbar holes to match the lug pattern. For a two-hole NEMA lug, that means two holes for 1/2 in studs on 1-3/4 in centers, square to the bar edge and clear of nearby bends or other holes.
Hole quality matters as much as position. Every hole should be burr-free, and the area around it should be flat, because a burr lifts the tongue and cuts the contact area. For hole quality and tooling, see our guide to copper busbar punching.
Next, prepare the surfaces. Clean bare copper just before assembly, or lightly abrade oxide with a non-metallic pad. On tin-plated bars and lugs, however, clean only; never abrade through the plating. Finally, apply a joint compound where the lug or equipment maker calls for it.
Hardware, Washers and Torque
Use the bolt grade the equipment or lug maker specifies, often high-strength steel such as SAE Grade 5, or stainless steel in corrosive sites. Place a flat washer under the bolt head and the nut, and add a Belleville washer, a conical spring washer, to keep clamp force steady as the joint heats and cools.
So, what torque should you use? Torque each bolt to the value the lug or equipment maker publishes, because joint size, bolt grade, plating and washer stack all change the right number. No single universal value applies, so do not copy a figure from another product.
Finally, mark each bolt after torquing. A paint line across nut and washer shows at a glance if the joint has moved since installation.
The bar a lug bolts to carries the current for the whole system. For more background, see busbar roles in modern electrical installations.
The Joint That Fails: Why Lug-to-Busbar Connections Overheat
Why do lug connections overheat? Heat comes from resistance, and each of these five causes raises resistance at the joint:
| Cause | Symptom | Fix |
|---|---|---|
| Under-crimp or wrong die | Lug runs hot; cable pulls out | Recrimp with the listed die |
| Loose bolt or creep | Discolored tongue, hot spot | Retorque; add Belleville washers |
| Oxide or dirty surface | Gradual temperature rise | Clean, re-make the joint |
| Galvanic Al/Cu contact | White corrosion, rising heat | Use tin-plated or bimetallic lugs |
| Undersized lug or stud | Hot under normal load | Fit the correct size |
Most of these faults start small and grow with each load cycle. A joint that runs a few degrees warm today can fail within months, because heat speeds up oxidation and creep. Therefore, scan cable lugs and busbar joints with infrared thermography during routine maintenance, and compare each phase with the others.
Maintenance standards now set how often to inspect electrical equipment. TUV SUD explains the NFPA 70B inspection intervals and infrared scanning in its NFPA 70B overview.
Poor joints reduce the performance of the whole assembly over time. Read about switchgear performance to see how connection quality affects reliability.
Standards That Apply
Three sets of rules cover most lug joints in North American and IEC markets:
- UL 486A-486B: the US and Canadian safety standard for wire connectors, including lugs for copper and aluminum conductors.
- IEC 61238-1-1: the IEC test standard for compression and mechanical connectors on power cables up to 1 kV.
- NEC 110.14(C): the terminal temperature rule; many terminals are rated 60 °C or 75 °C, which caps conductor ampacity even when the cable is rated 90 °C.
Terminal temperature limits often decide the cable size more than the cable rating does. Electrical Contractor magazine explains how the lowest-rated termination sets conductor ampacity in its NEC termination article.
Standards also guide how the finished equipment is chosen and specified. See choosing switchgear for a practical selection checklist.
Conclusion: Cable Lugs and Busbar
Reliable cable lugs come down to four checks. First, choose the right lug for the conductor, stranding and metal. Second, crimp it with the right die and verify the result. Third, punch a clean, correctly spaced hole in the busbar. Finally, assemble with the right hardware and the maker’s torque, then scan the joint during maintenance. Get those four right, and the lug will stay cool and safe for many years of service.


Rate this article
Choose a rating from 1 to 5 stars.
No ratings yet
0 Comments
No comments yet. Be the first to comment.